Welcome to my Learn to Crochet series!
Grab some yarn, a hook, and crochet along with me.
In this series, I will teach you the 3 most basic crochet stitches: single crochet, double crochet, and half double crochet. I will introduce you to simple edging, and show you how to sew your crocheted pieces together. By the time we finish the series, you will have a beautiful crochet bag. I am using mine to hold yarn and other crochet supplies.
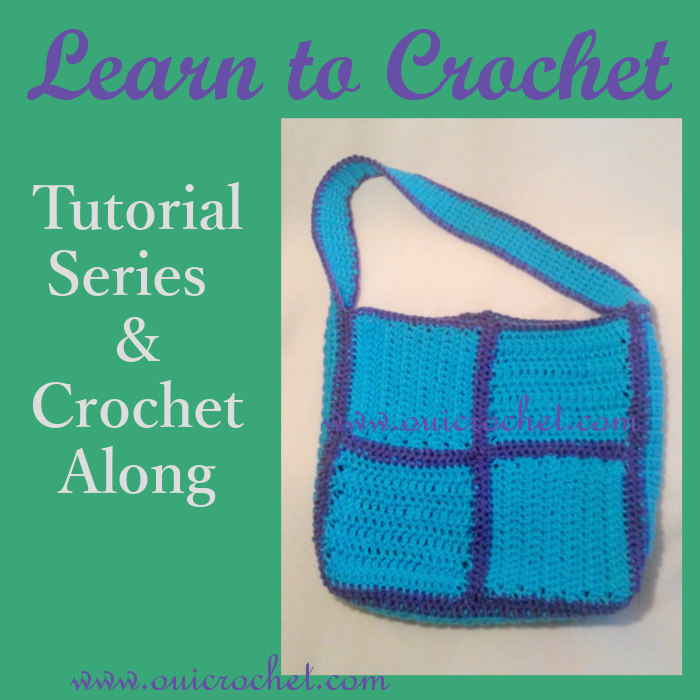
Before we get started, let’s talk a little bit about the crochet hook. Hooks come in many different sizes and styles. Check out my post on hook styles, if you like.
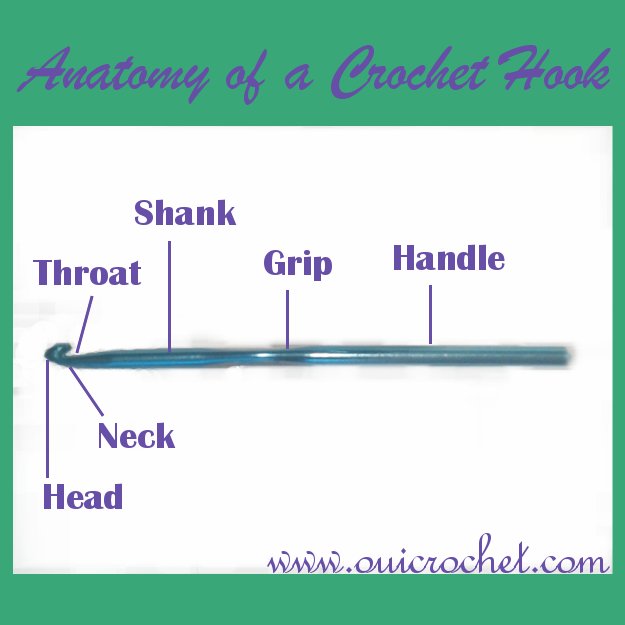
The hook is made up of two basic parts: the head and the body.
Look at the picture below to further break it down.
Now we will discuss how to hold the crochet hook.
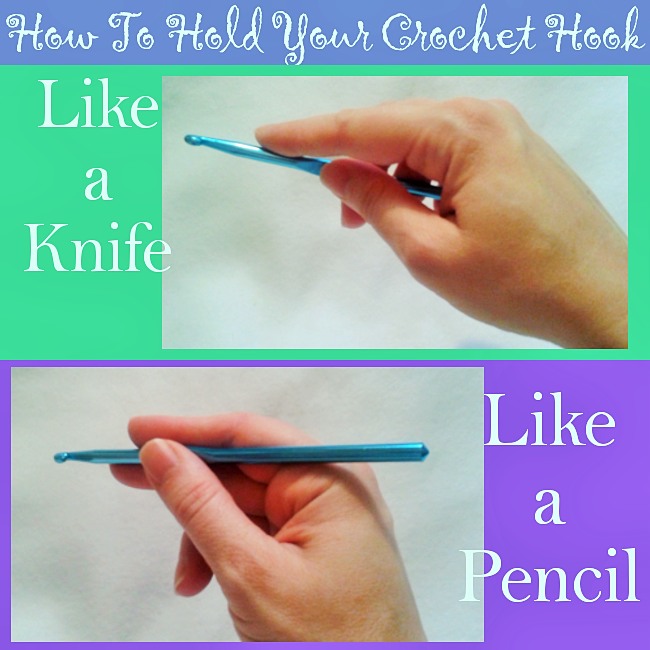
There are 2 main ways to hold a crochet hook. You can hold it overhand (as though you are cutting with a knife), or you can hold it underhand (as if you are holding a pencil).
Try out both, and see which is most comfortable for you.
As for the size, the larger the hook, the larger and looser the stitch. Thus, staying true to that fact, the smaller the hook, the smaller and tighter the stitch. For this project, I chose a size J hook. I chose J because I feel that it is easiest to learn on this hook size.
Now let’s talk a little about yarn.
Really… just a little. I could probably fill up an entire month’s worth of posts, just talking about yarn and its various weights, fibers, sources, etc. Today, we will simply choose a yarn for our bag.
We will be using worsted weight, also known as medium or 4. I chose yo use acrylic yarn, as it is most widely available, but you can use whatever fiber you like. Cotton would be a great alternative. I bought a skein each of Red Heart Super Saver yarn in lavender and turqua. I used approximately 2/3 of a skein of the turqua, and much less of the lavender.
Are you ready to get started?
Well, not started, started. We will do that in part 2.
But you do need to know how to get “started”, before we get started.
Slip Knot:
First we need to get the yarn on the hook.
A simple slip knot will do the trick. It’s easy.
Although I am left handed, I crochet right handed. As I was cropping my photos for this tutorial, I realized that I made my slip knot left handed. Because a slip knot is so easy, I’m sure it won’t make a difference.
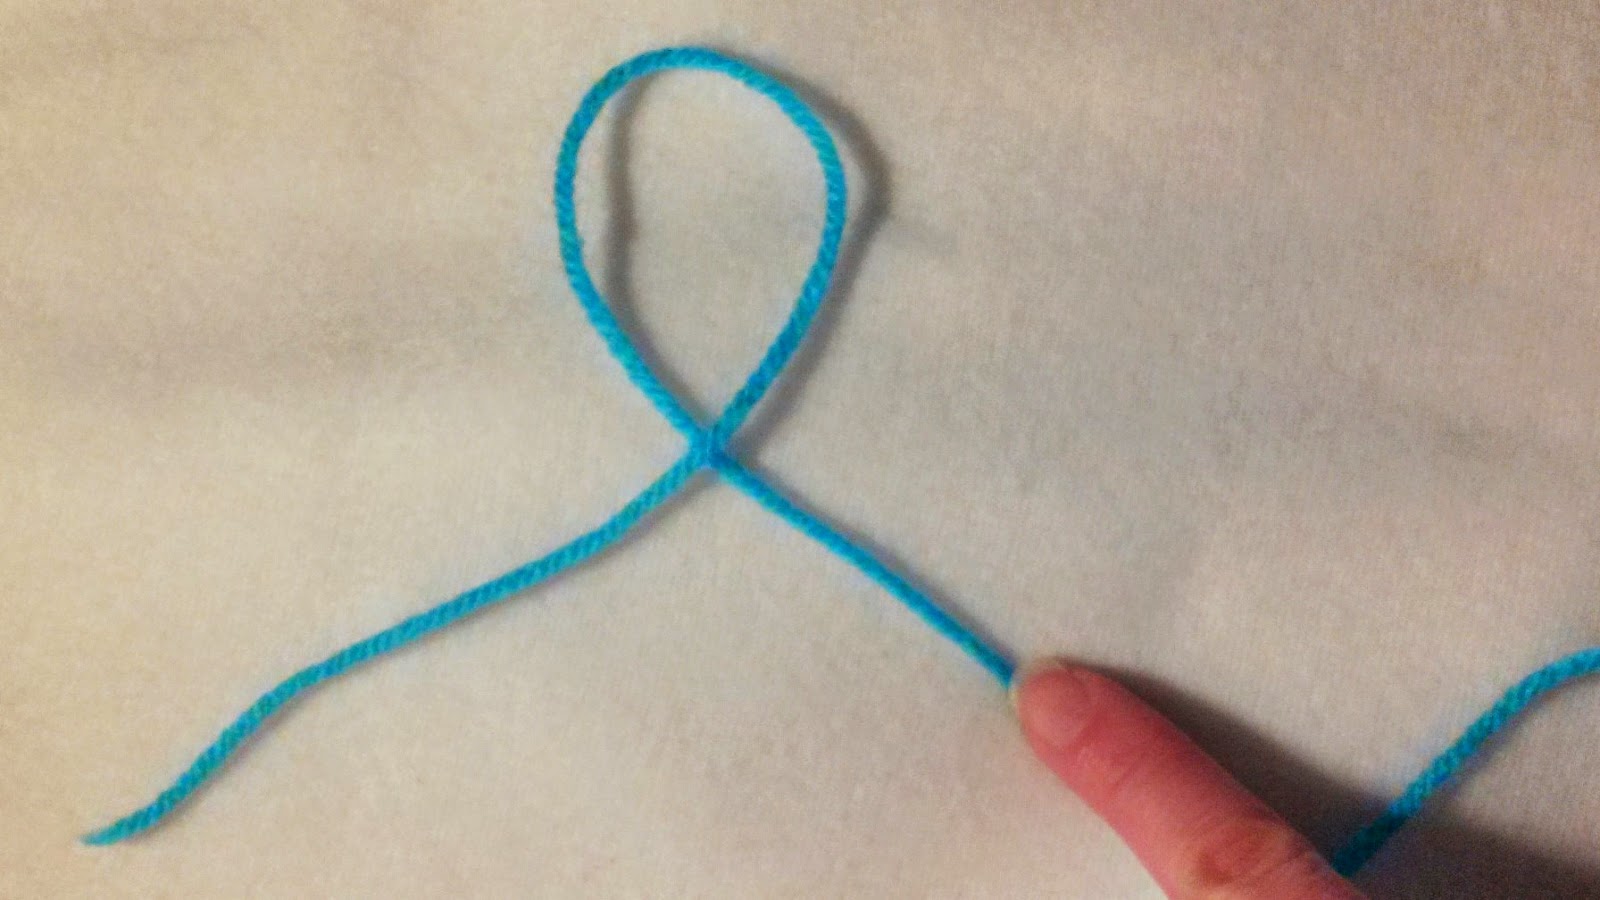
Make a loop with your yarn by crossing the loose (tail) end over the attached (working) end of the yarn. I am pointing to the working end.
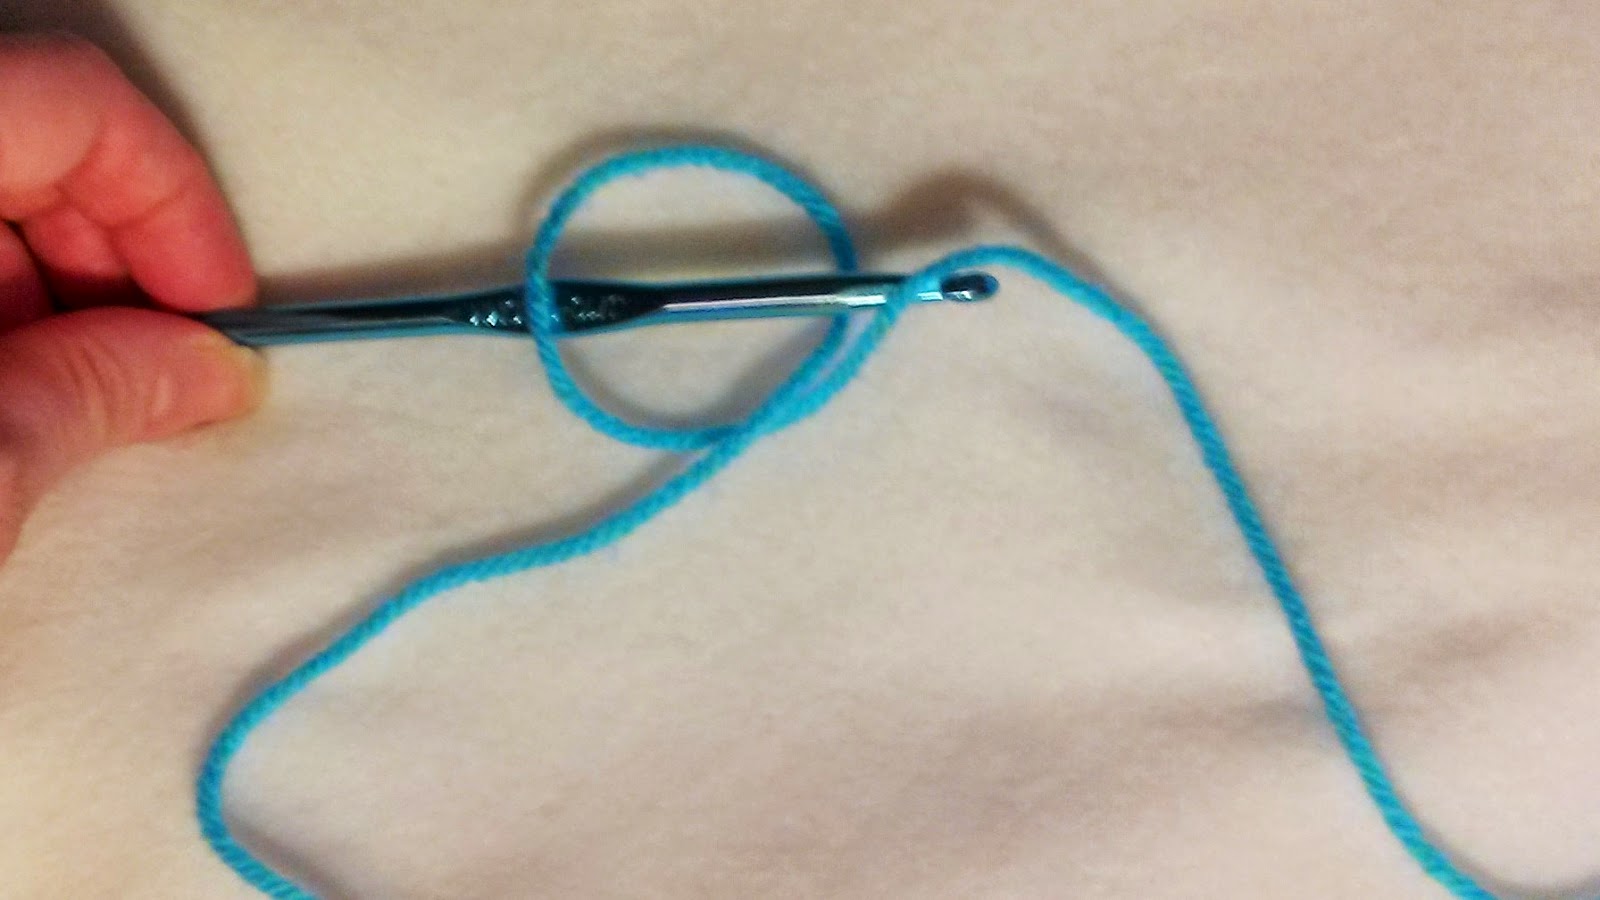
Slip your hook through the loop, from back to front and grab the working end of the yarn.
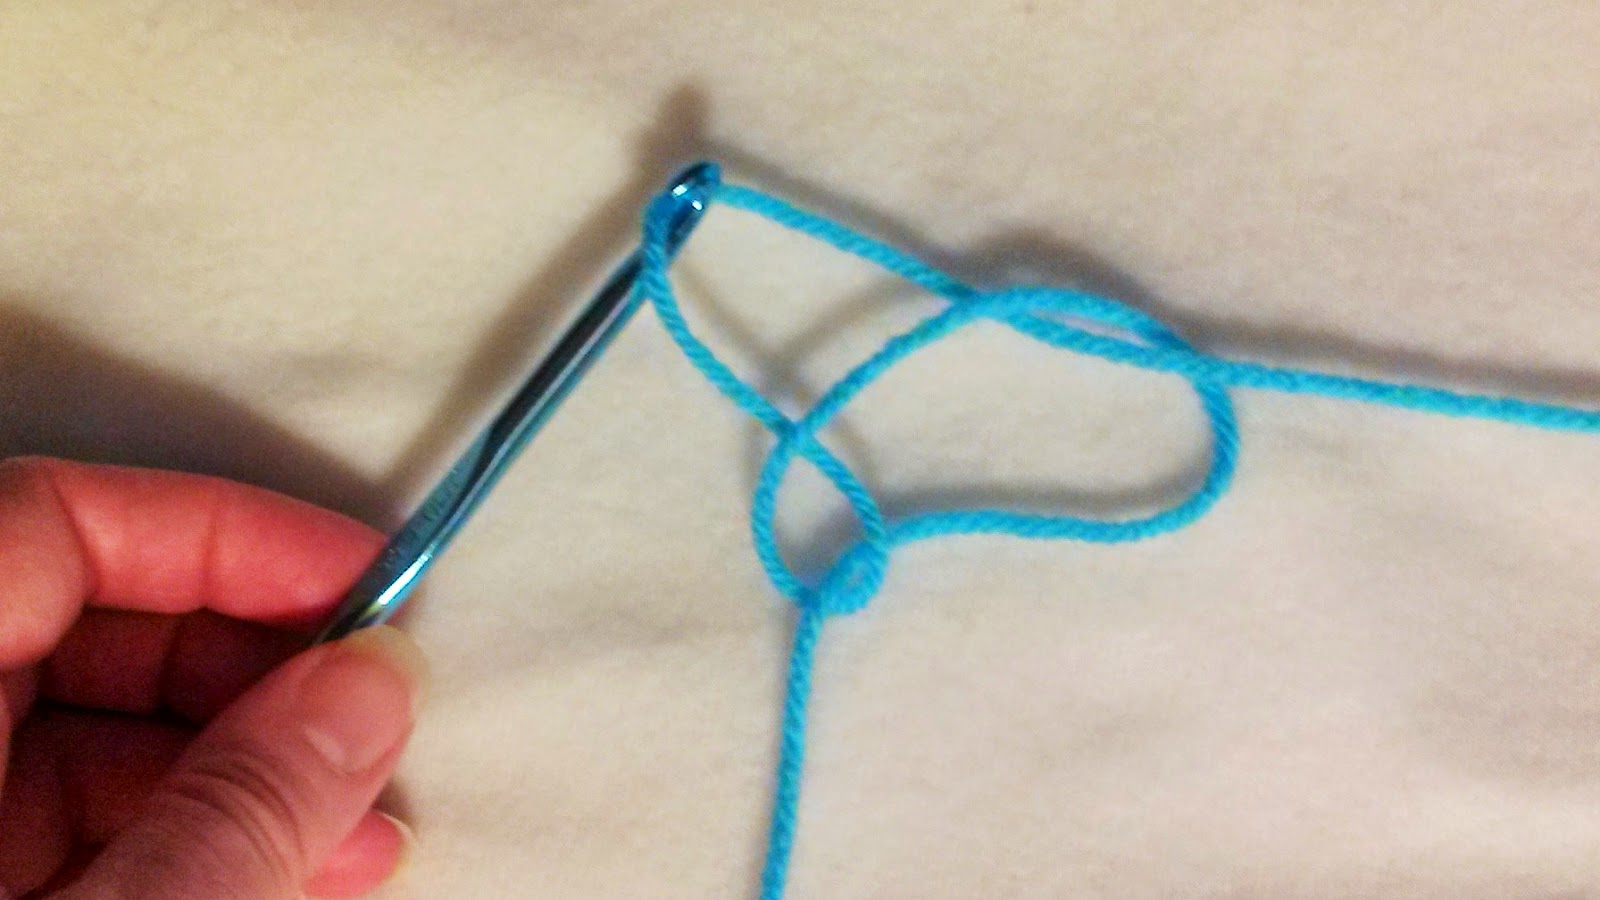
Pull the working end through the loop.
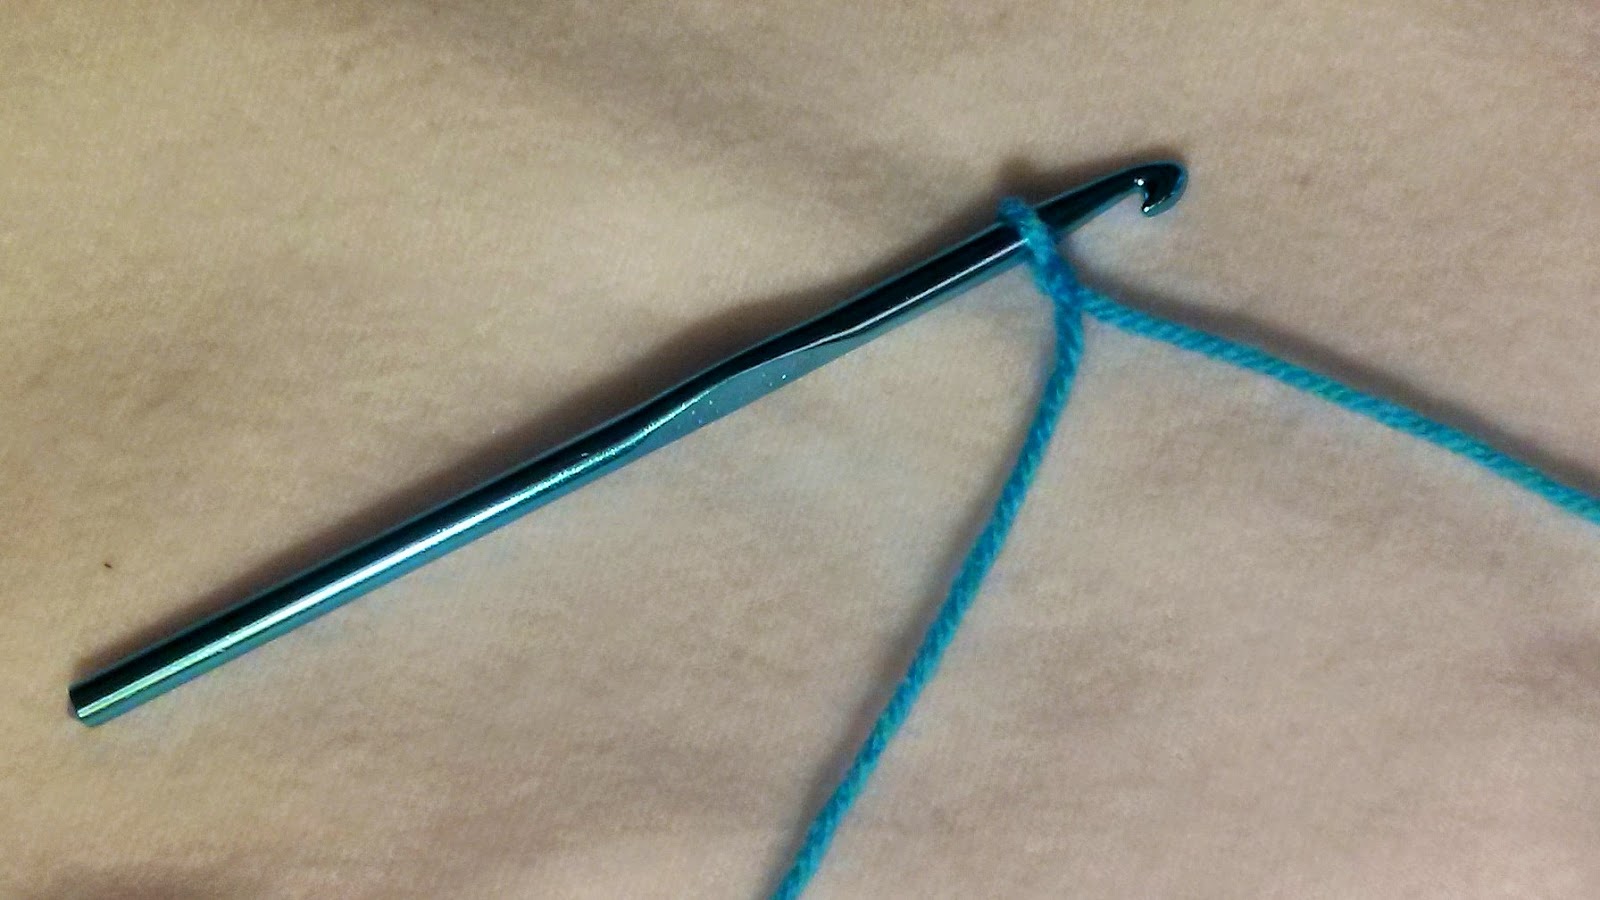
Tighten the knot. This gives you one loop on your hook and you are ready to start crocheting.
Foundation Chain: Once we have the slip knot, we insert our hook and get ready to make our foundation chain. The cut end of the yarn is called the tail, and the end attached to our skein of yarn is the working end.
We call the yarn around our hook a loop.
We start with the 1 loop (from the slip knot) on our hook. The loop will rest on the shank of the hook, close to the neck and throat.
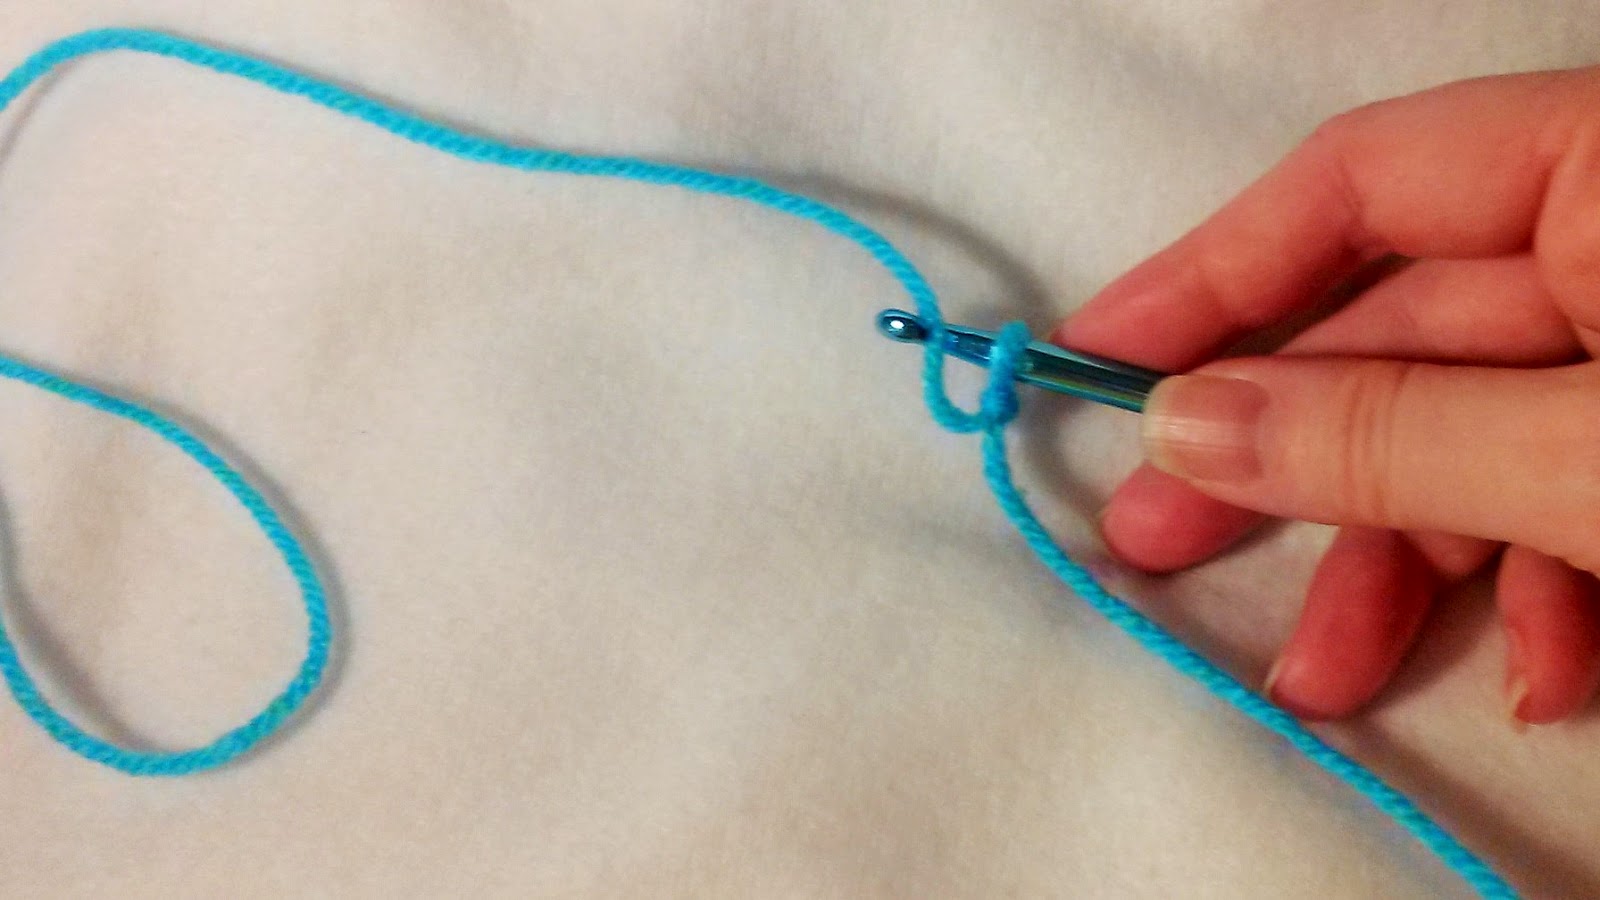
Next, we take our working end and wrap that yarn over the neck of the hook, between the loop and the head. Catch the yarn at the throat of the hook, and pull it through the loop (on the hook… from the slip knot).
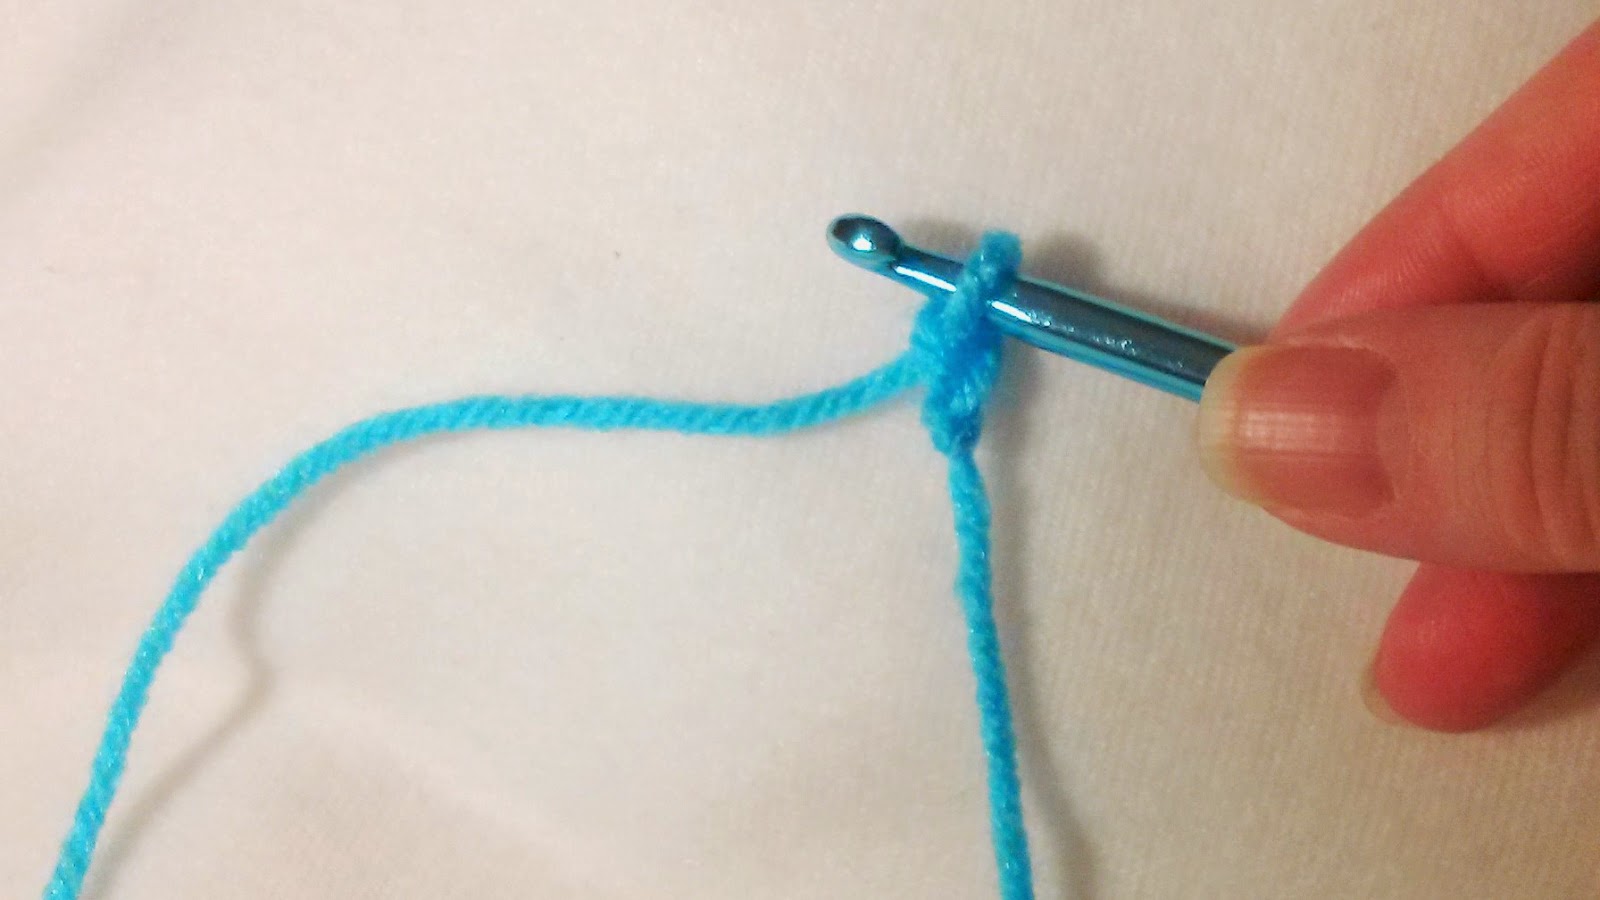
You are left with 1 loop on the hook, and you have 1 chain stitch.
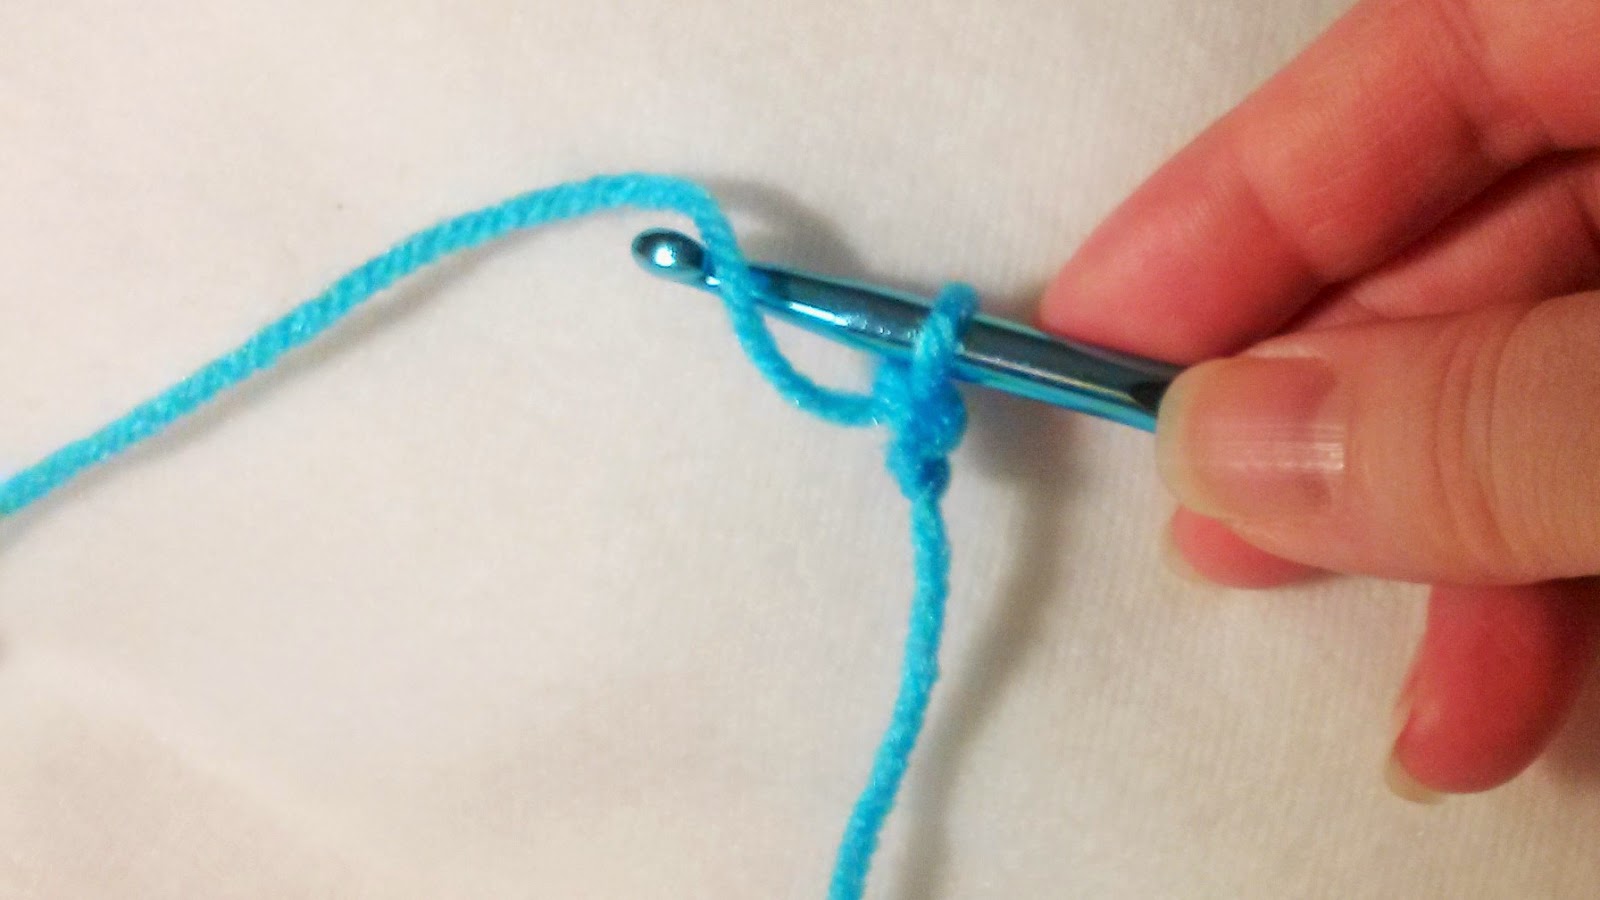
Just repeat, to continue the chain. Yarn over hook, pull it through the loop.
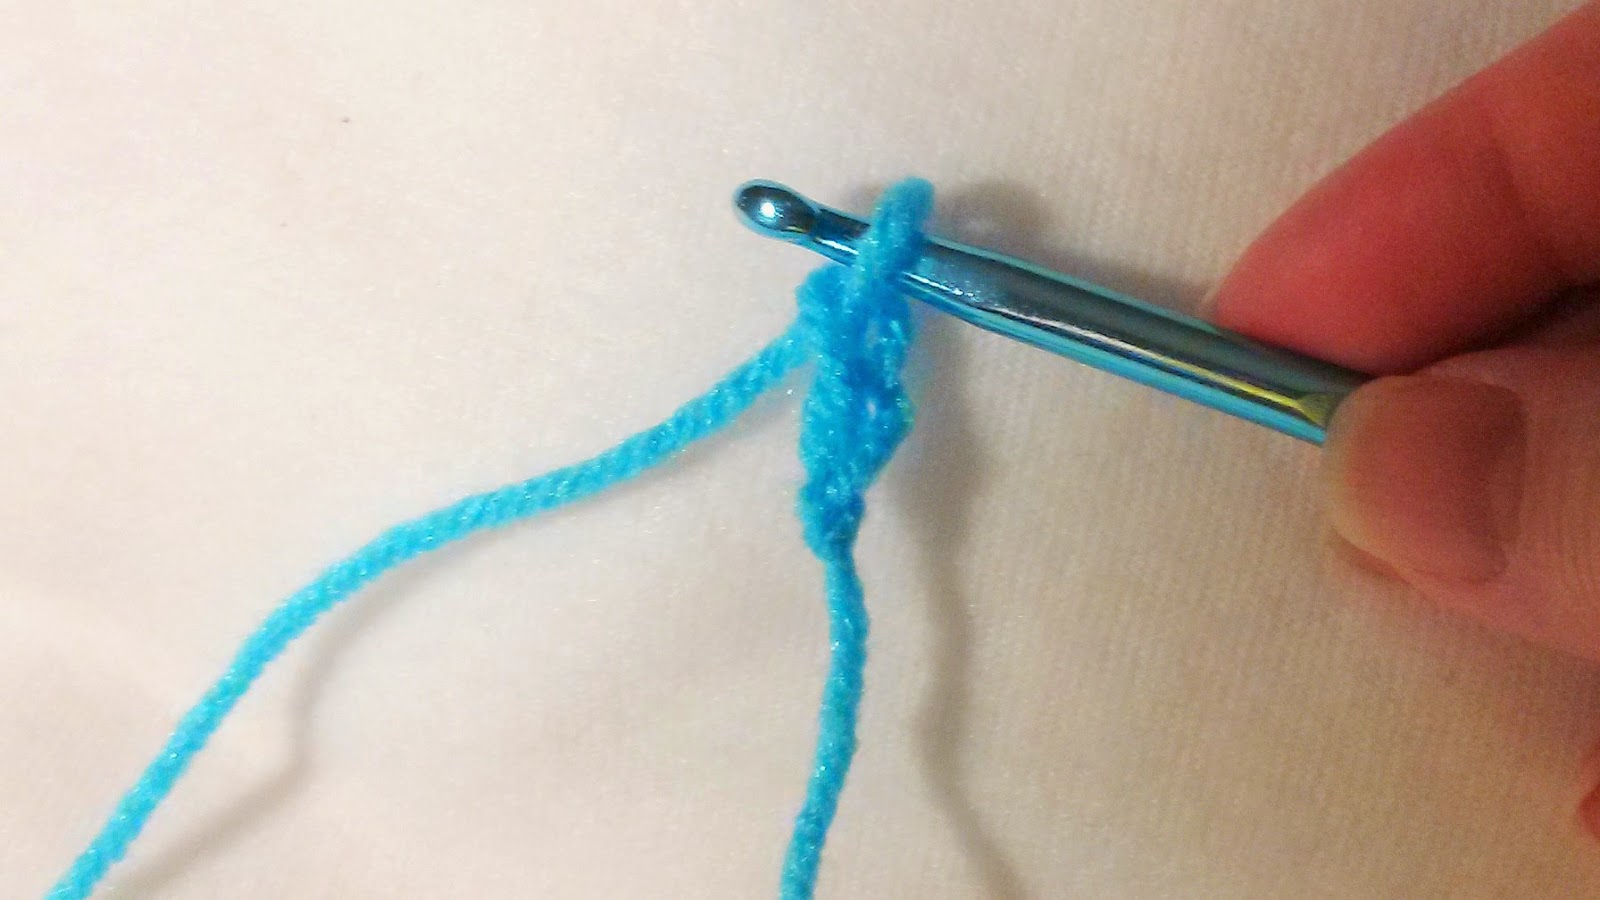
Yarn over hook, pull it through the loop. Keep repeating until you have the desired number of chains.
Finishing Off:
Finishing off is as simple as making a chain and a cut.
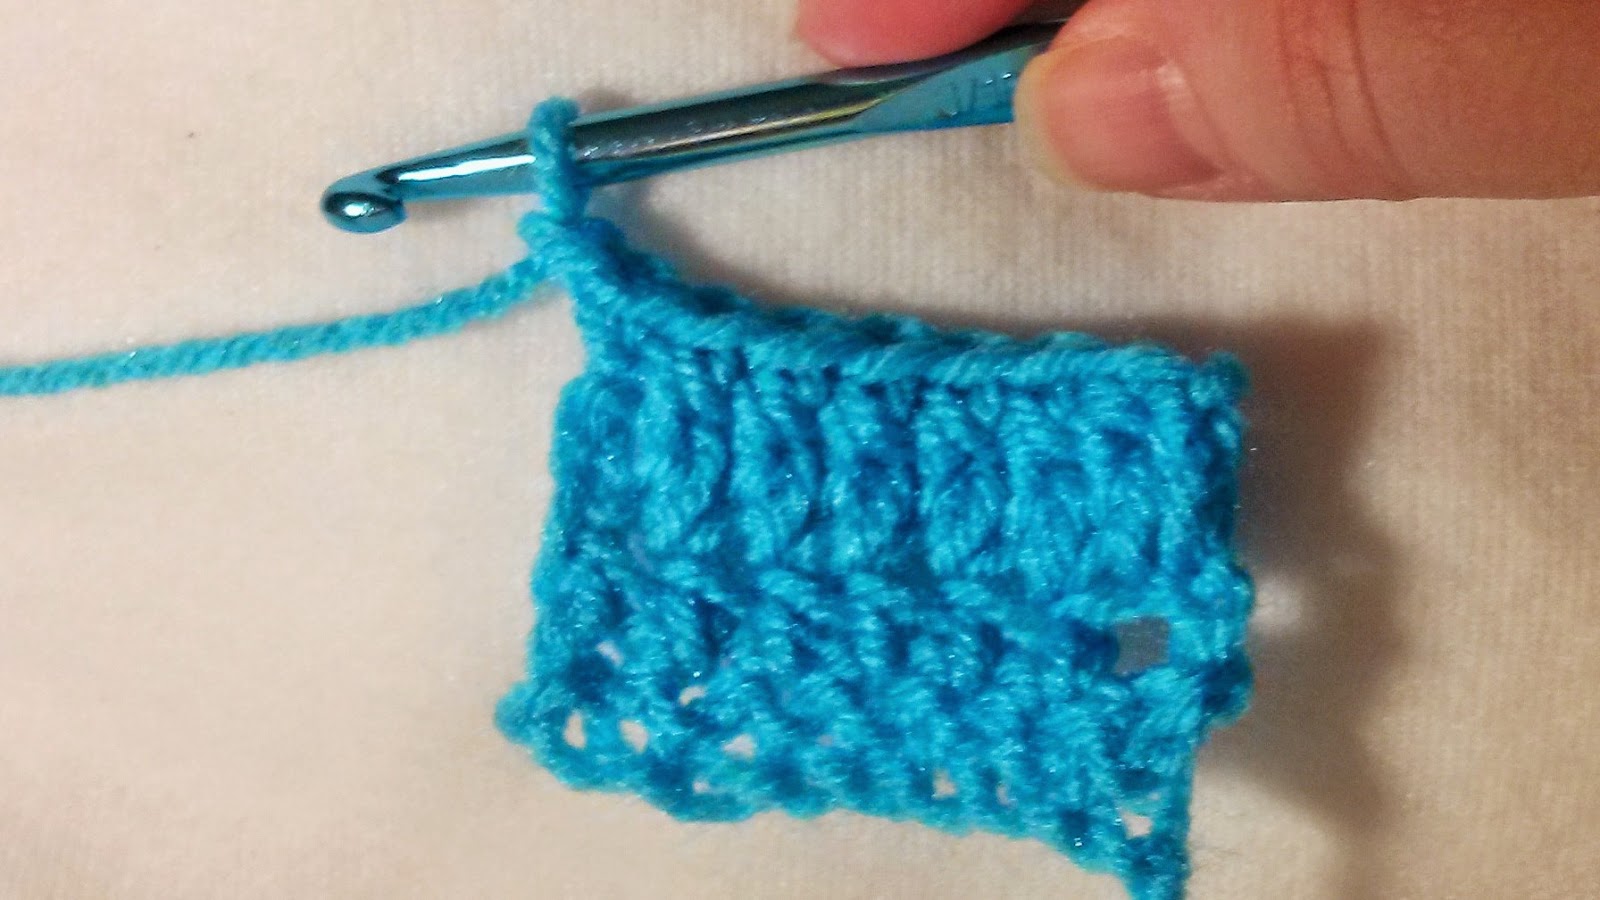
To finish off your work, you will simply make a chain stitch…
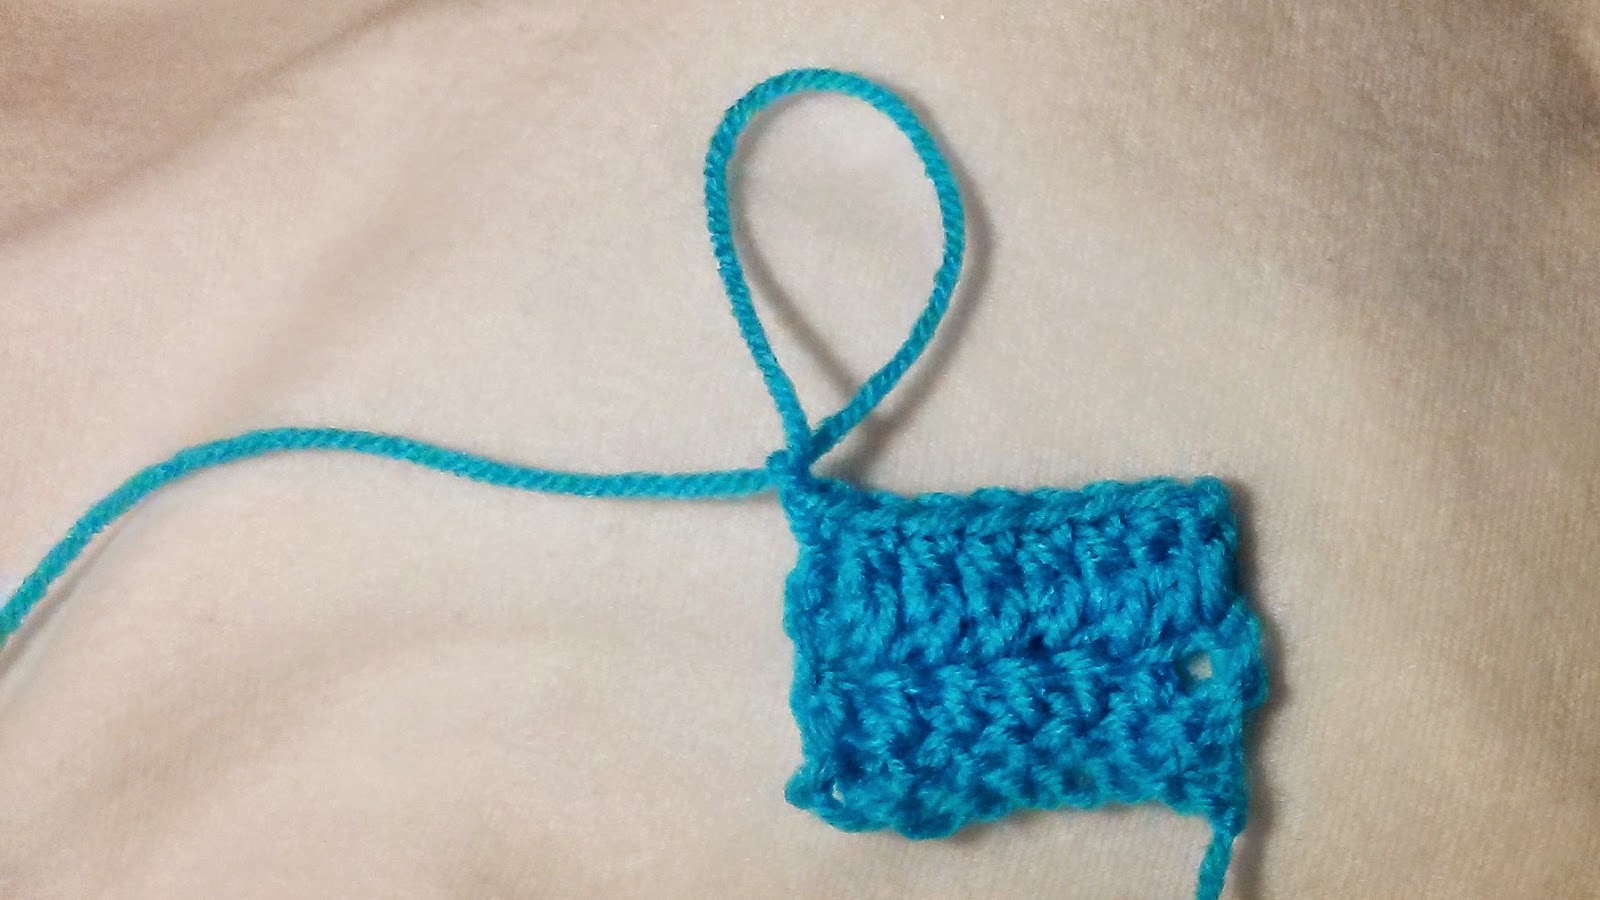
…and keep pulling that loop up so that it is a couple inches long.
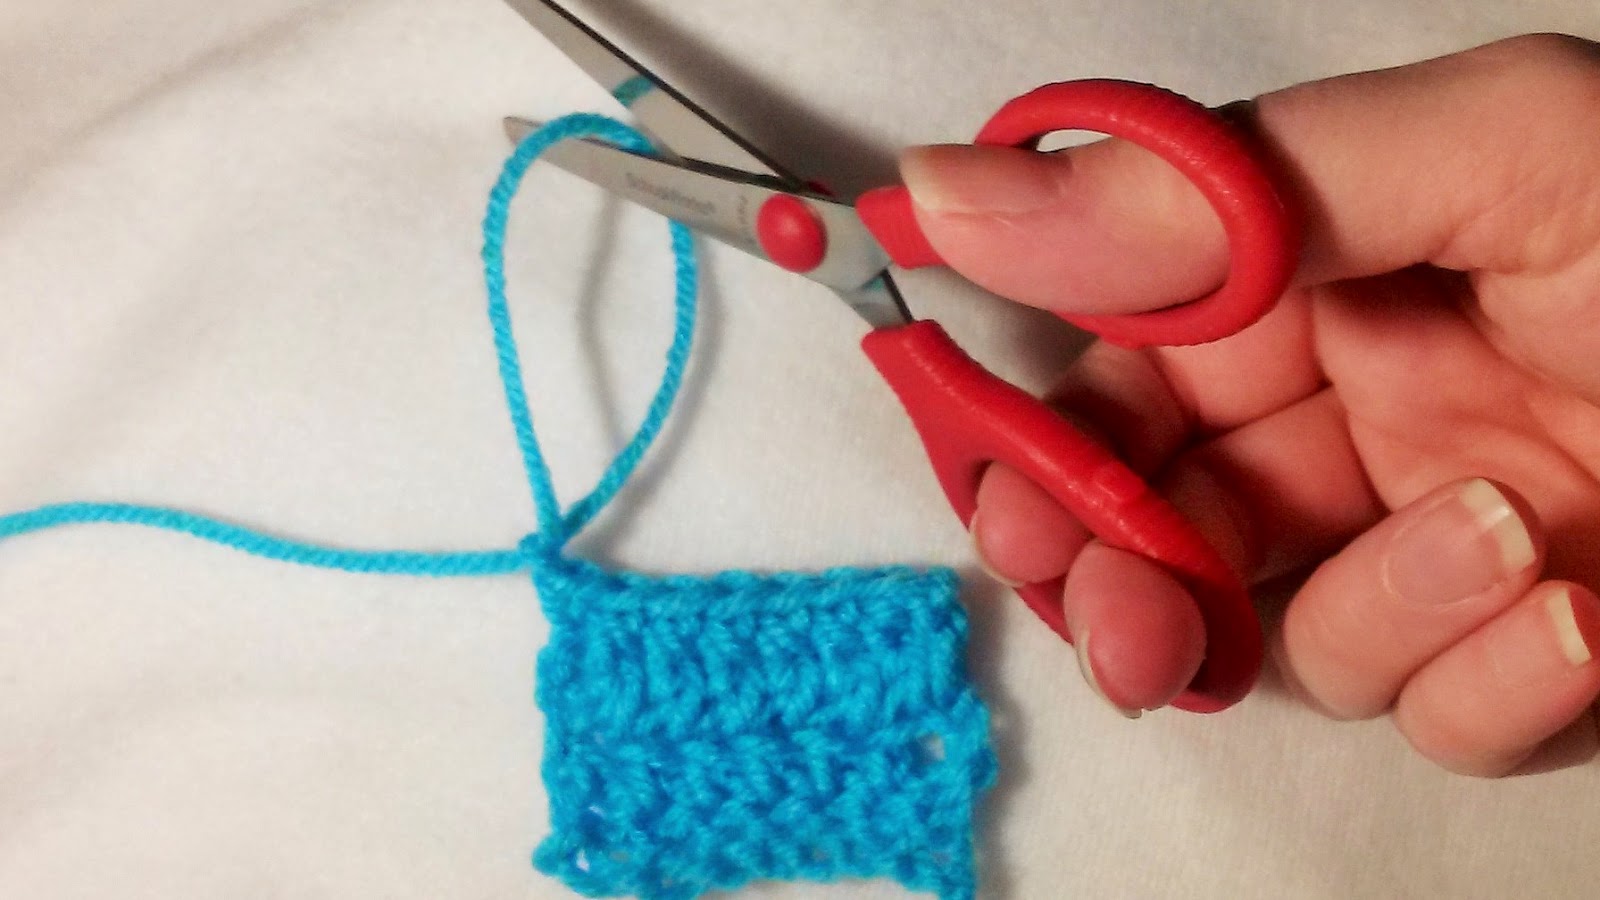
Cut the top of the loop.
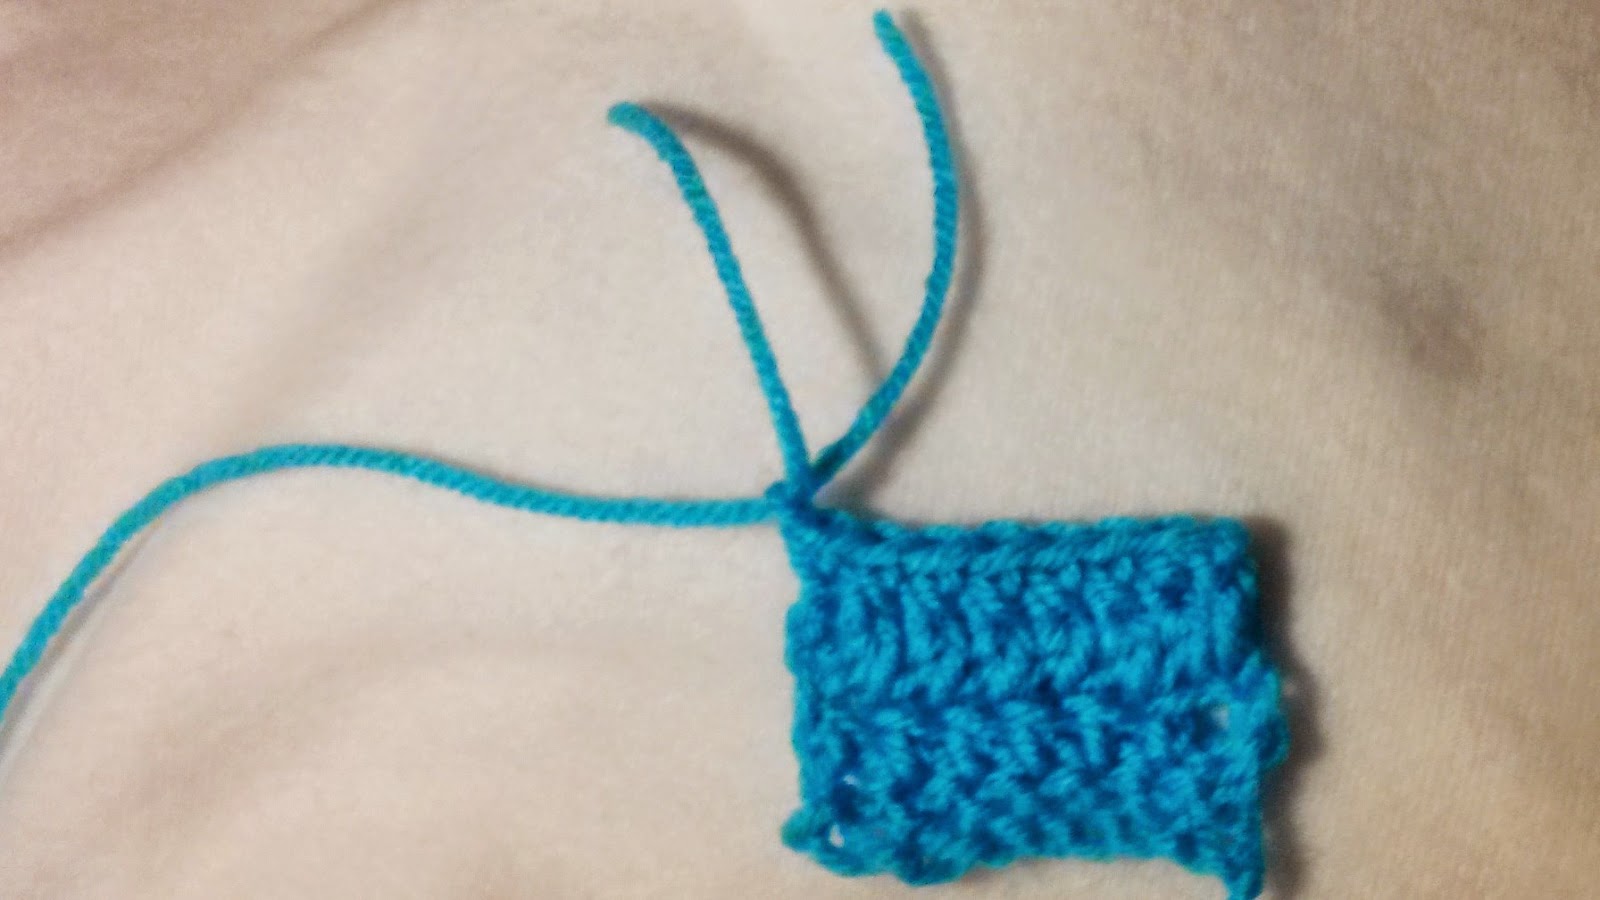
Pull the working yarn out.
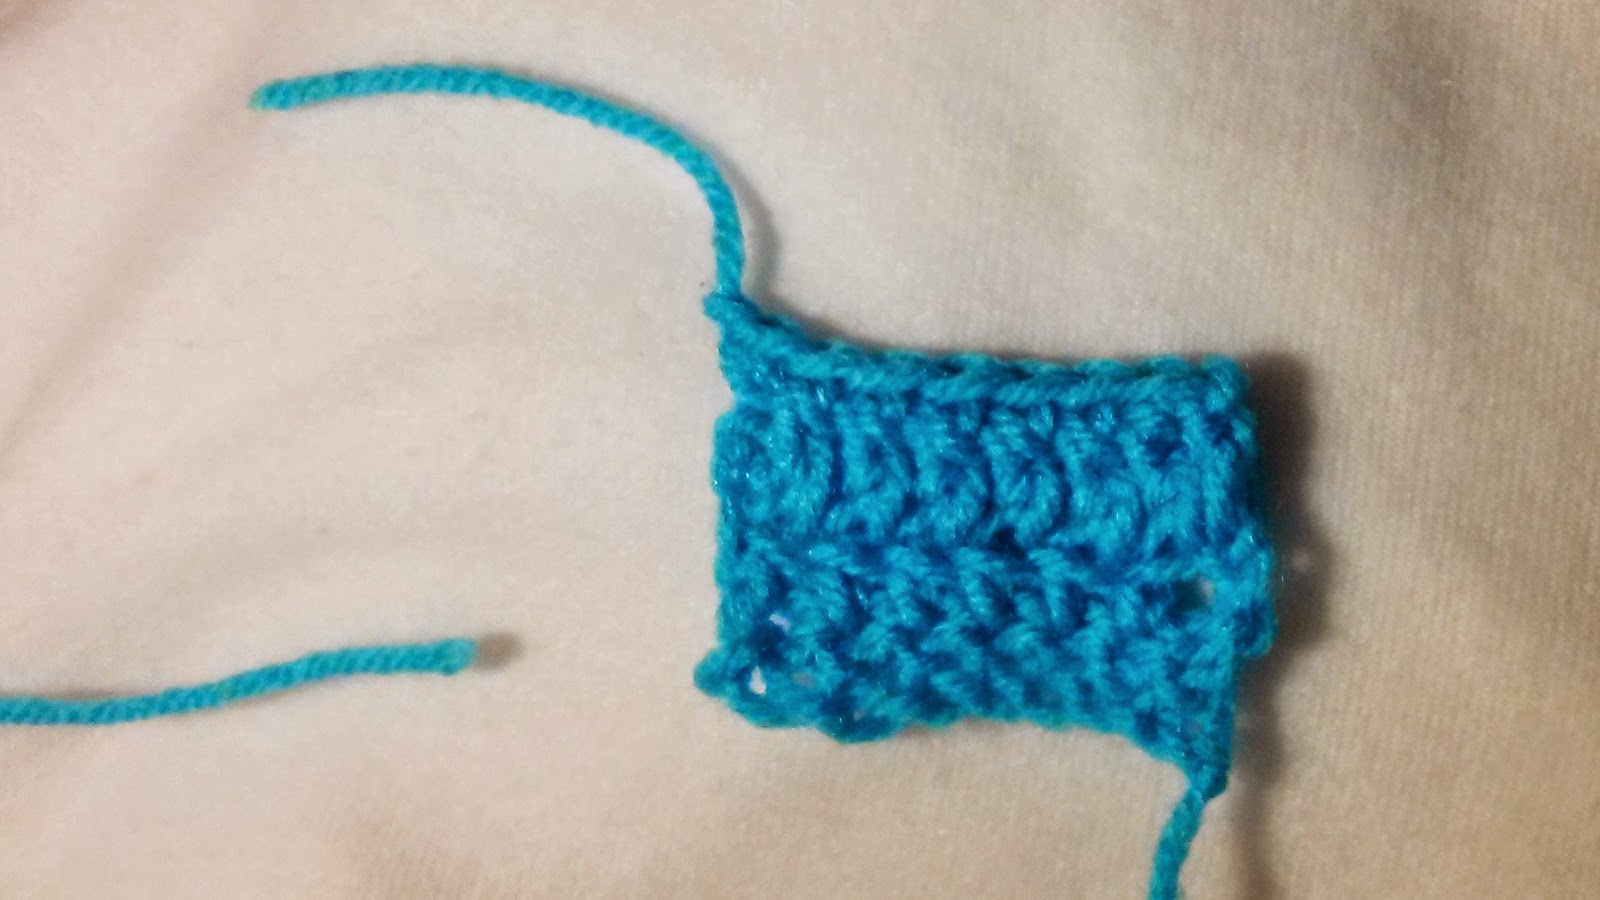
Give the tail a little tug to tighten it.
You can use your hook to weave the tail into your work, so that it isn’t visible.
Now you should know how to hold the crochet hook, make a slip knot, make a foundation chain, and finish off your work.
Just practice making a long chain, until you get a good feel for the hook and the yarn. Try holding the hook different ways, until you find what is comfortable for you. Once you have the motion down, head on over to Learn to Crochet: Part 2- Single Crochet to get started making our bag.
