Welcome to Part 5 of my Learn to Crochet series.
Feel free to look back at Learn to Crochet: Part 1- Getting Started {Crochet Along Tutorial}, Learn to Crochet: Part 2- Single Crochet Stitch {Crochet Along Tutorial}, Learn to Crochet: Part 3- Double Crochet Stitch {Crochet Along Tutorial}, Learn to Crochet: Part 4- Half Double Crochet Stitch {Crochet Along Tutorial}, and Learn to Crochet: Part 5- Crochet Edging {Crochet Along Tutorial} if you missed them.
Today we will be finishing our crochet bag pattern! I will teach you how to sew crochet pieces together and explain how to assemble your crochet bag.
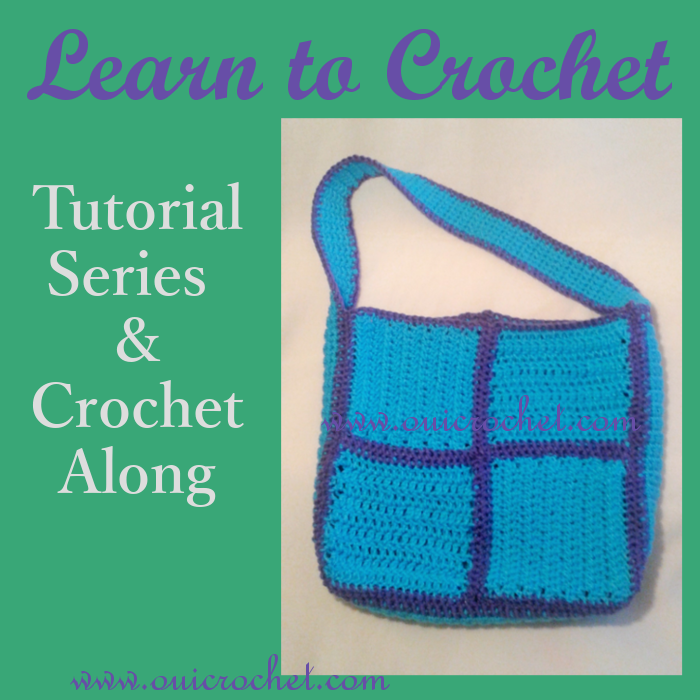
I will begin by explaining how to sew crochet pieces together. Next, there will be a photo tutorial. Finally, I will explain how to sew your crochet bag together.
How to Sew Crochet Pieces Together:
- Thread a yarn needle with matching yarn.
- Line up the stitches of your crochet pieces.
- Put your needle through the corner stitch of both pieces. Pull the yarn through, almost to the end and secure it with a knot.
- Insert your needle through the next lined up stitch of each piece, and pull through. Continue this for every stitch, always entering through the same direction. For example: If you insert your needle from the top to the bottom, pull it through, then bring it up and insert it into the top of the next stitches. Continue through all stitches that need to be sewn. Finish off with a knot.
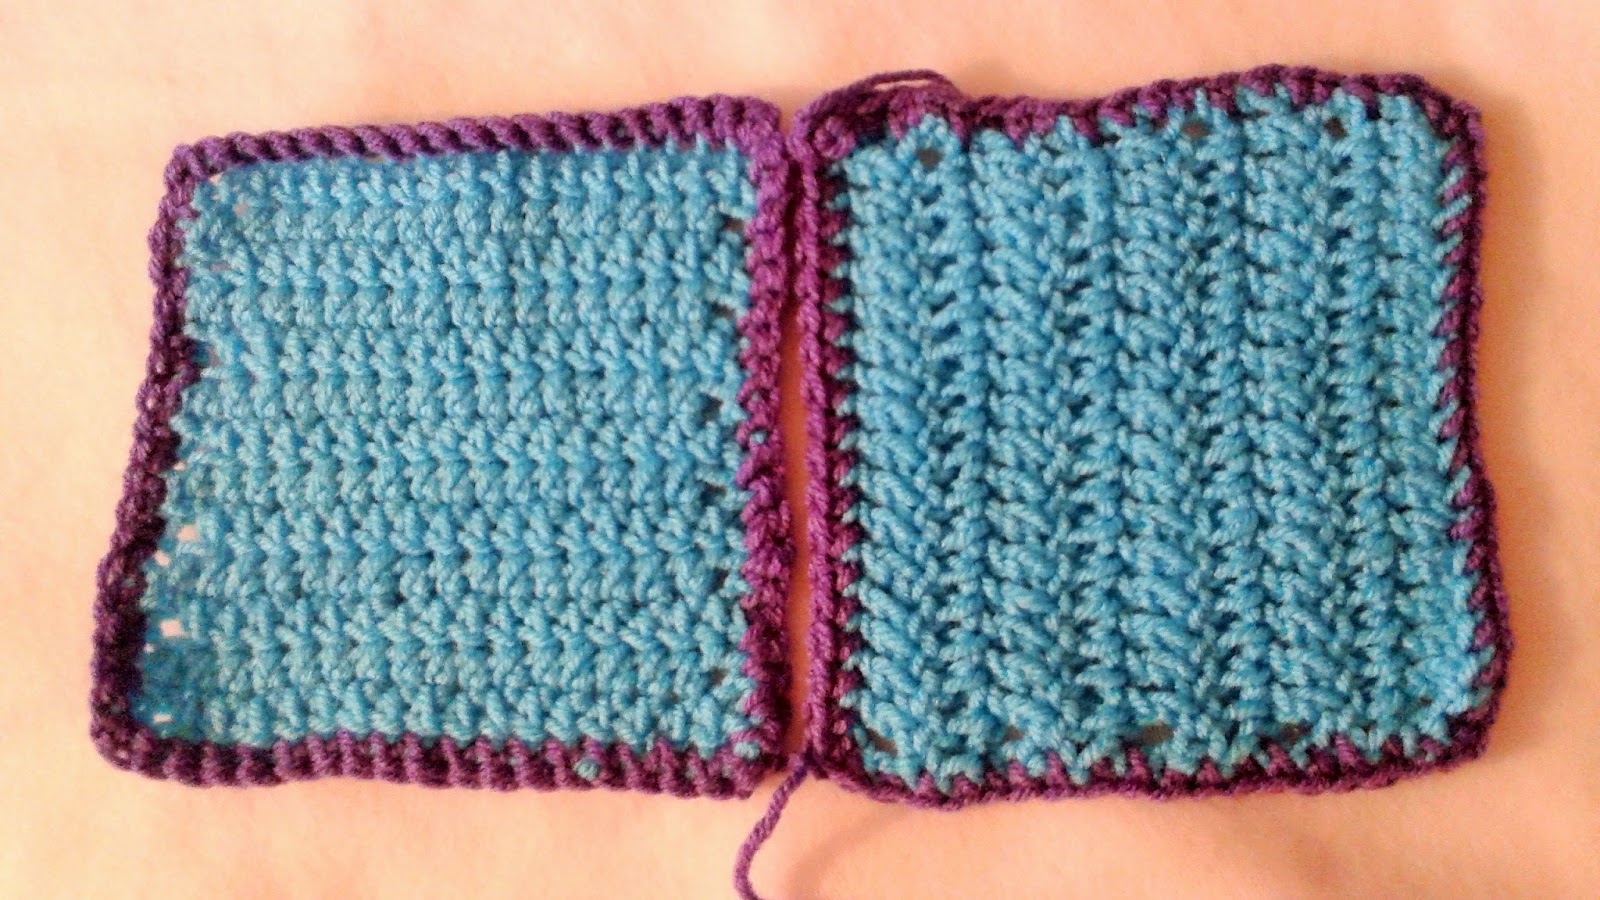
Line up the stitches of your crochet pieces.
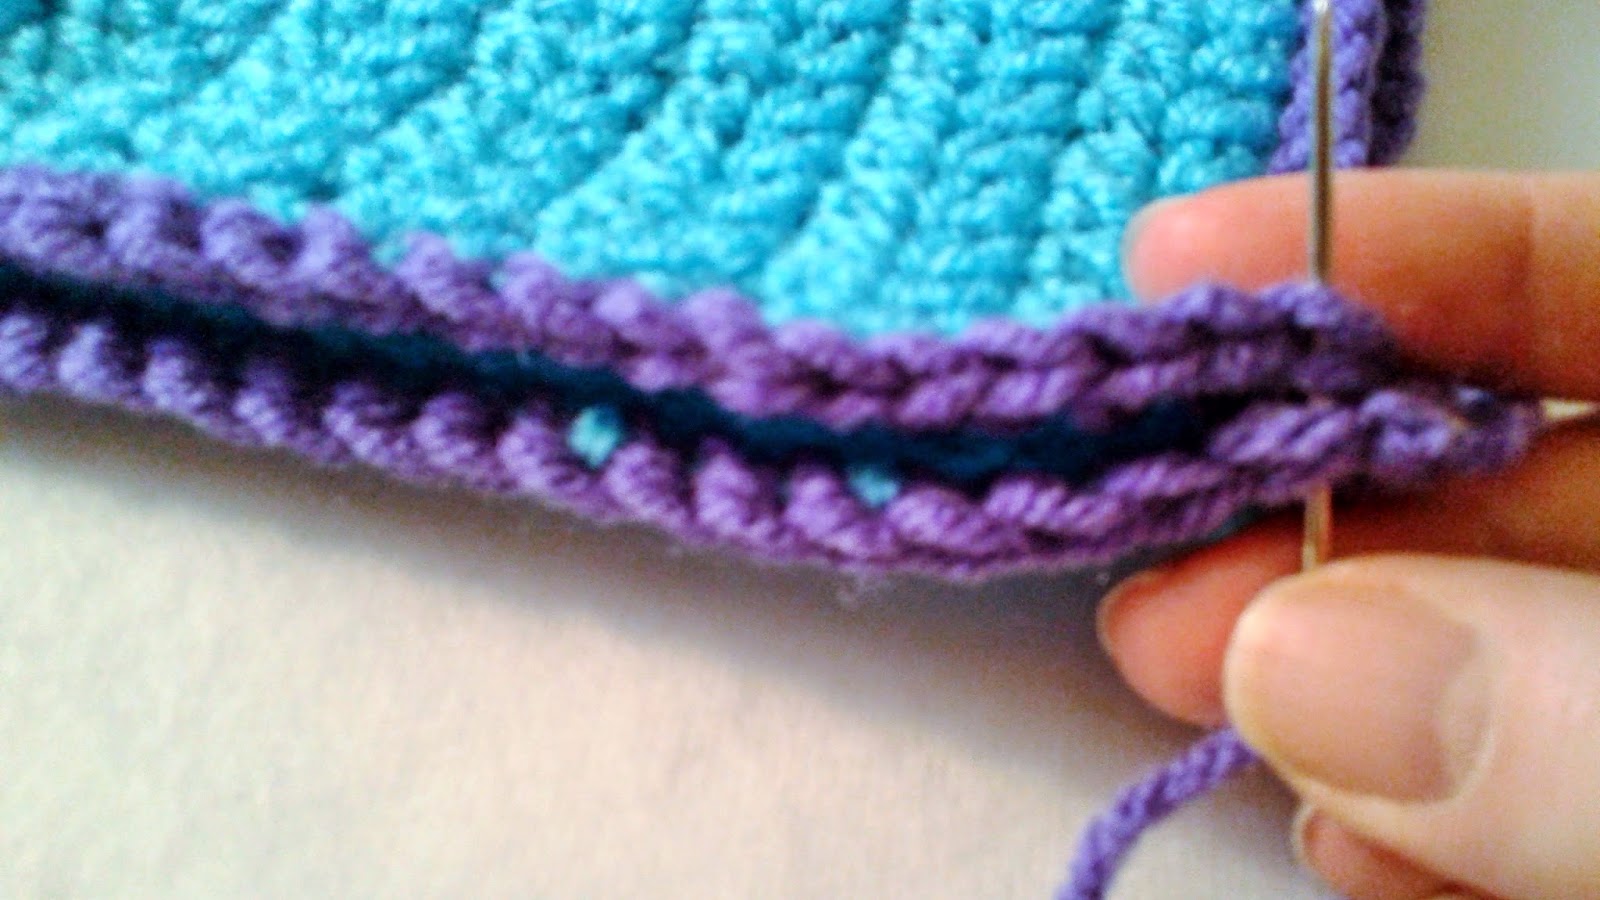
Put your needle through the corner stitch of both pieces.
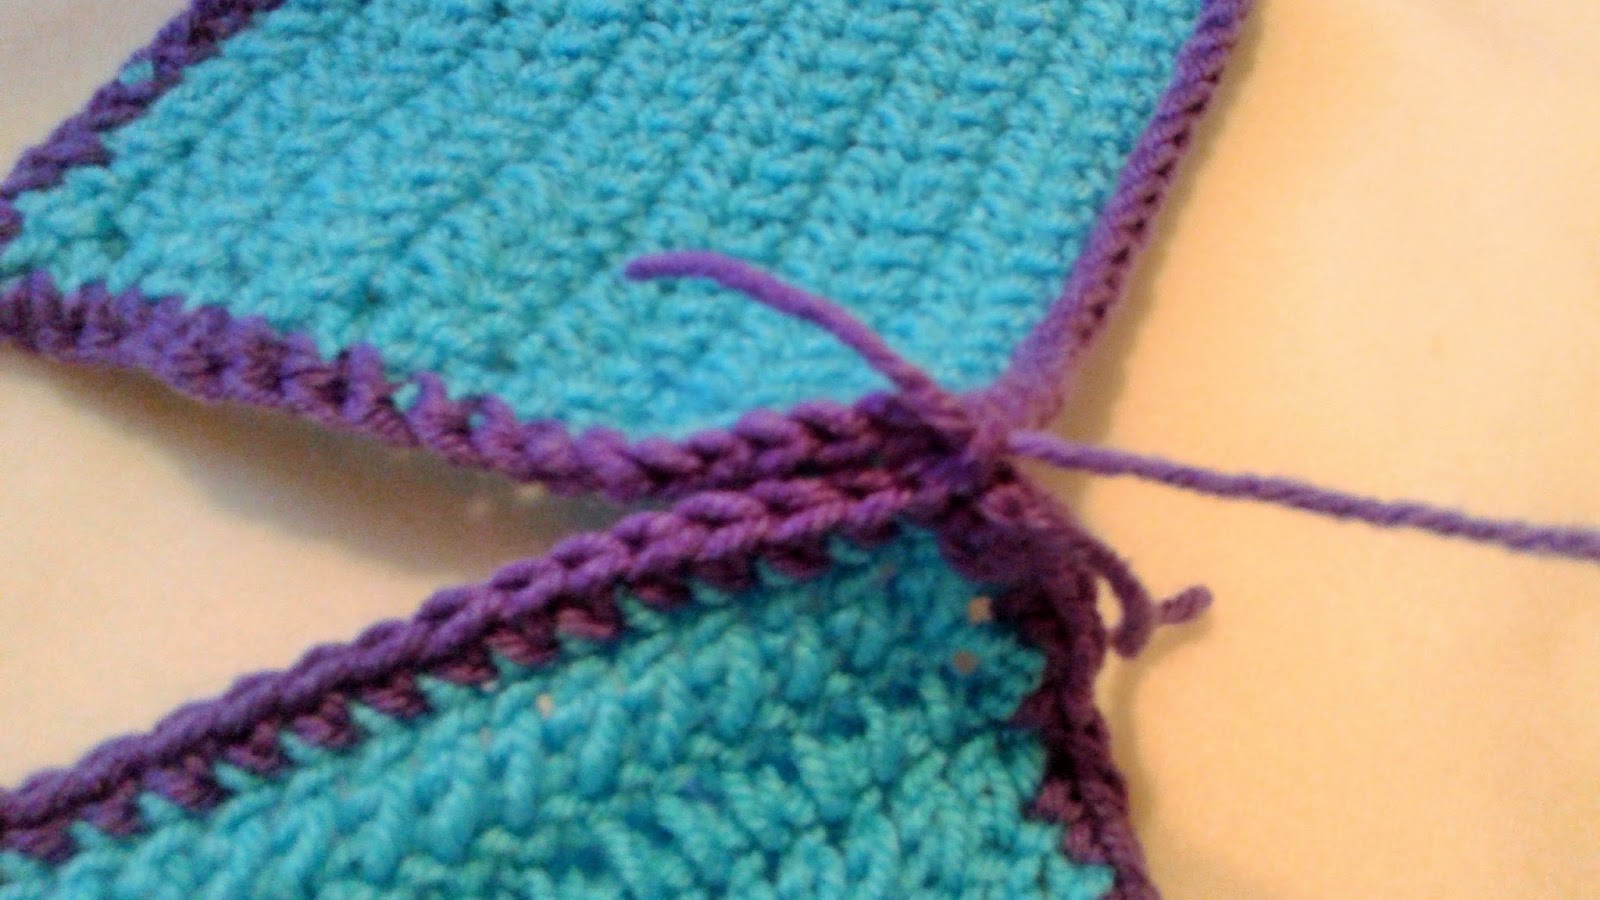
Pull the yarn through, almost to the end and secure it with a knot.
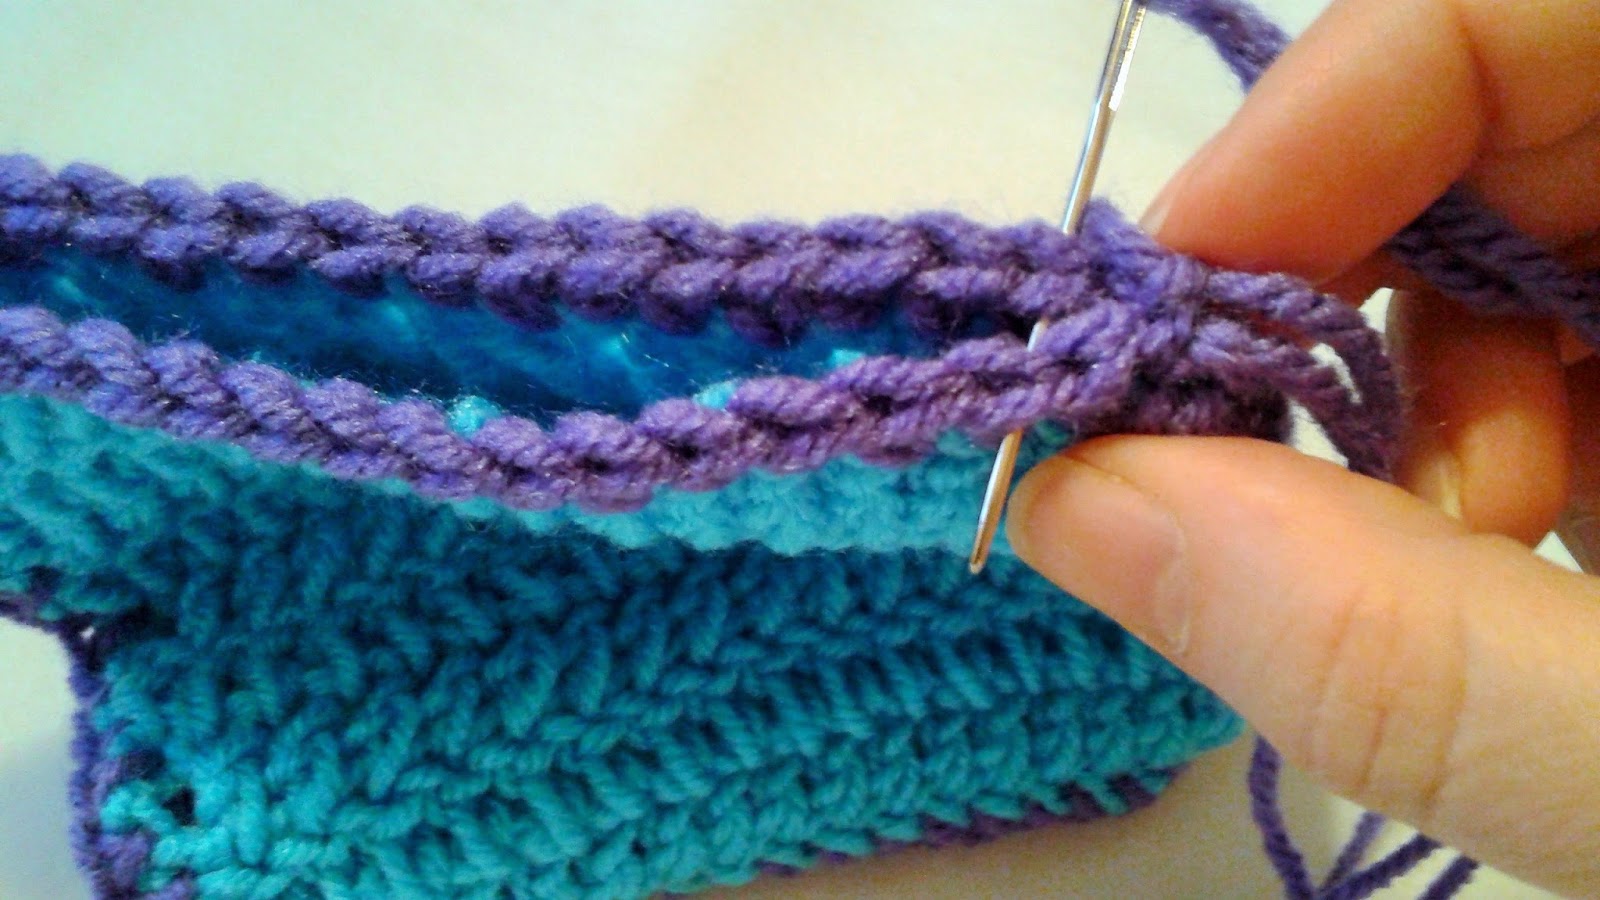
Insert your needle through the next lined up stitch of each piece, and pull through.
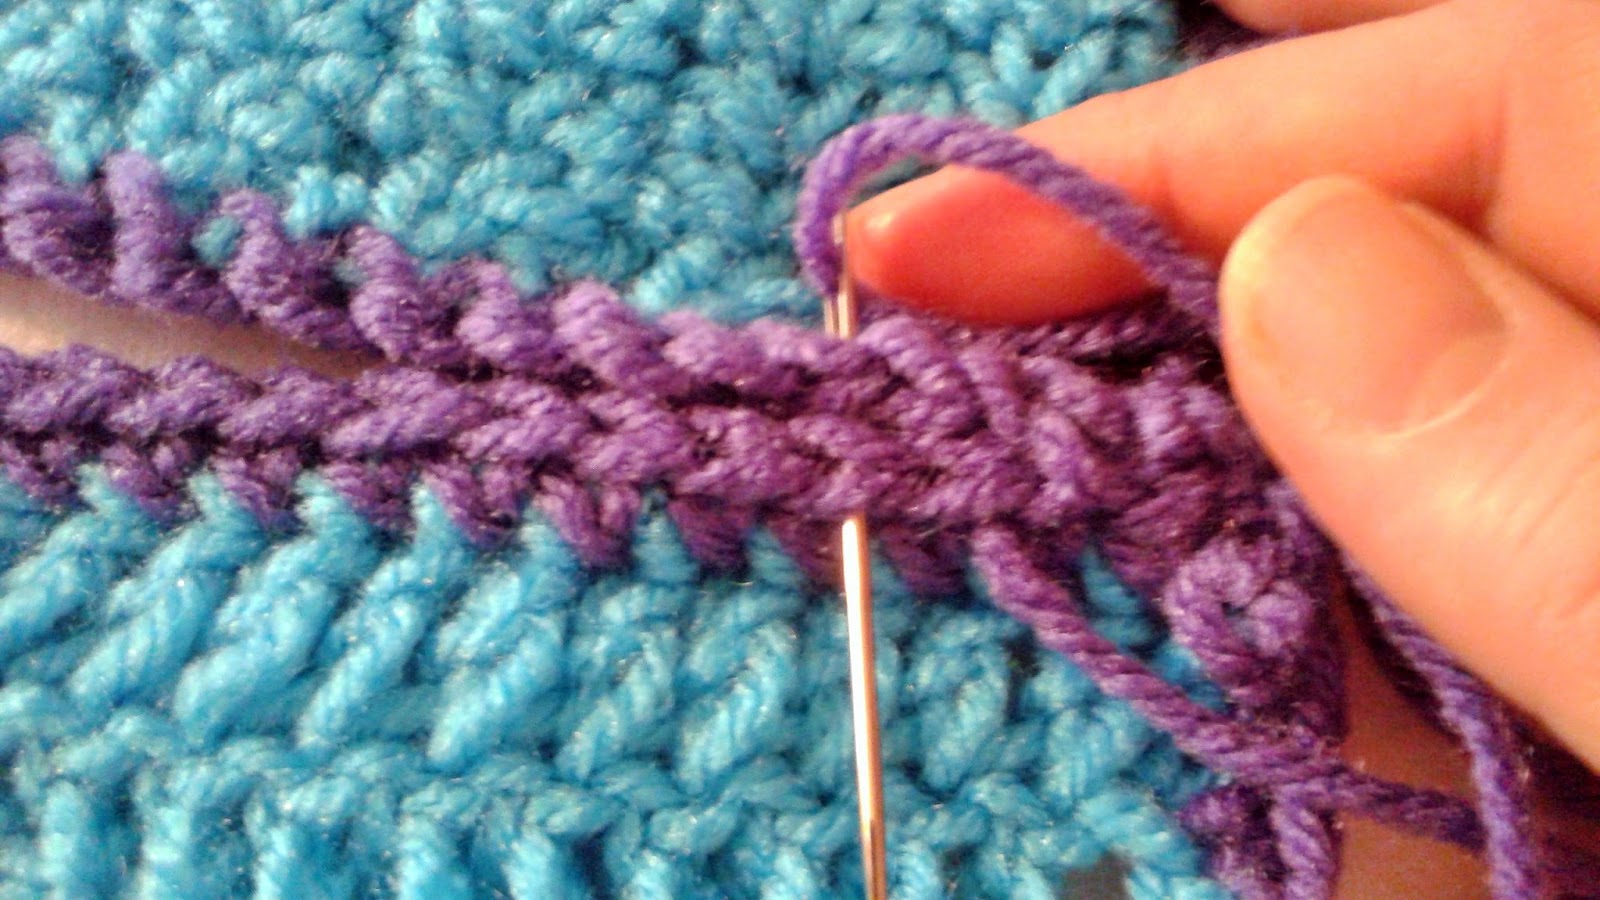
Continue this for every stitch, always entering through the same direction.
Assemble Your Bag:
Bag assembly is fairly easy. We will make the front and back with 4 of the squares each; and we will form the bottom, sides, and strap with the strap piece.
Front and Back:
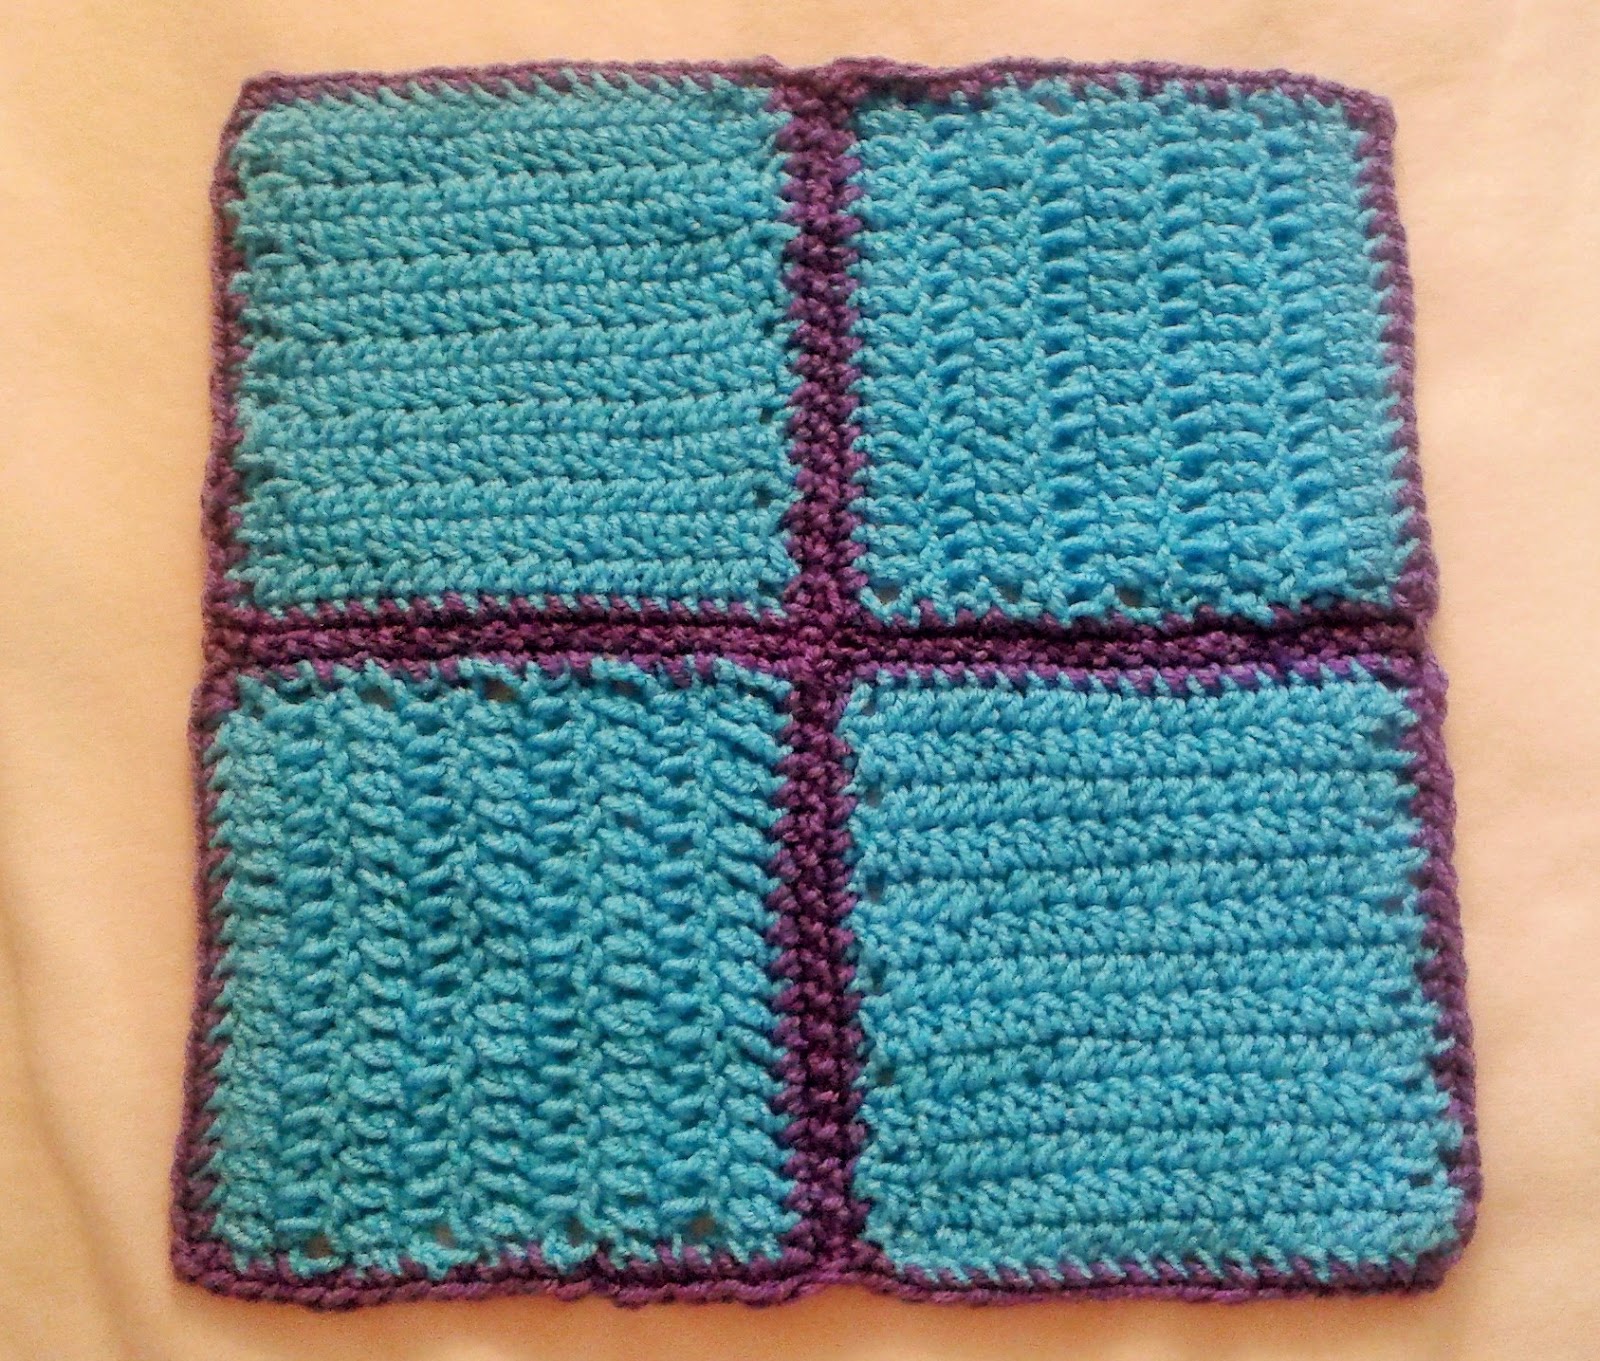
Start by laying out your squares, so that you know how you want to assemble them. The front and back will each use 2 double crochet squares and 2 half double crochet squares. I aligned my half double crochet squares with the rows going vertically, and my double crochet squares going horizontally. I formed them in a checkerboard pattern. Now that you have them laid out, you are ready to join.
Start with a double crochet square and a half double crochet square. Sew the two together on one side. Finish off.
Repeat with the remaining squares. You will now have 4 pieces (not including the strap).
Take two of those pieces, making sure that you have them in the right order, sew one long side together. Finish off.
Repeat with the other two pieces. You now have the front and the back piece.
They should look something like this:
Bottom, Sides, & Strap:
Line one corner of the strap up with one corner of the front piece. Sew the long side of the strap along three sides of the front piece. You will still have a length of the strap unsewn. Finish off.
Starting on the same end of the strap you did for the front, sew the other long side of the strap along three sides of the back piece.
Now sew the two short sides of the strap together.
Finish off. Weave in all loose ends.
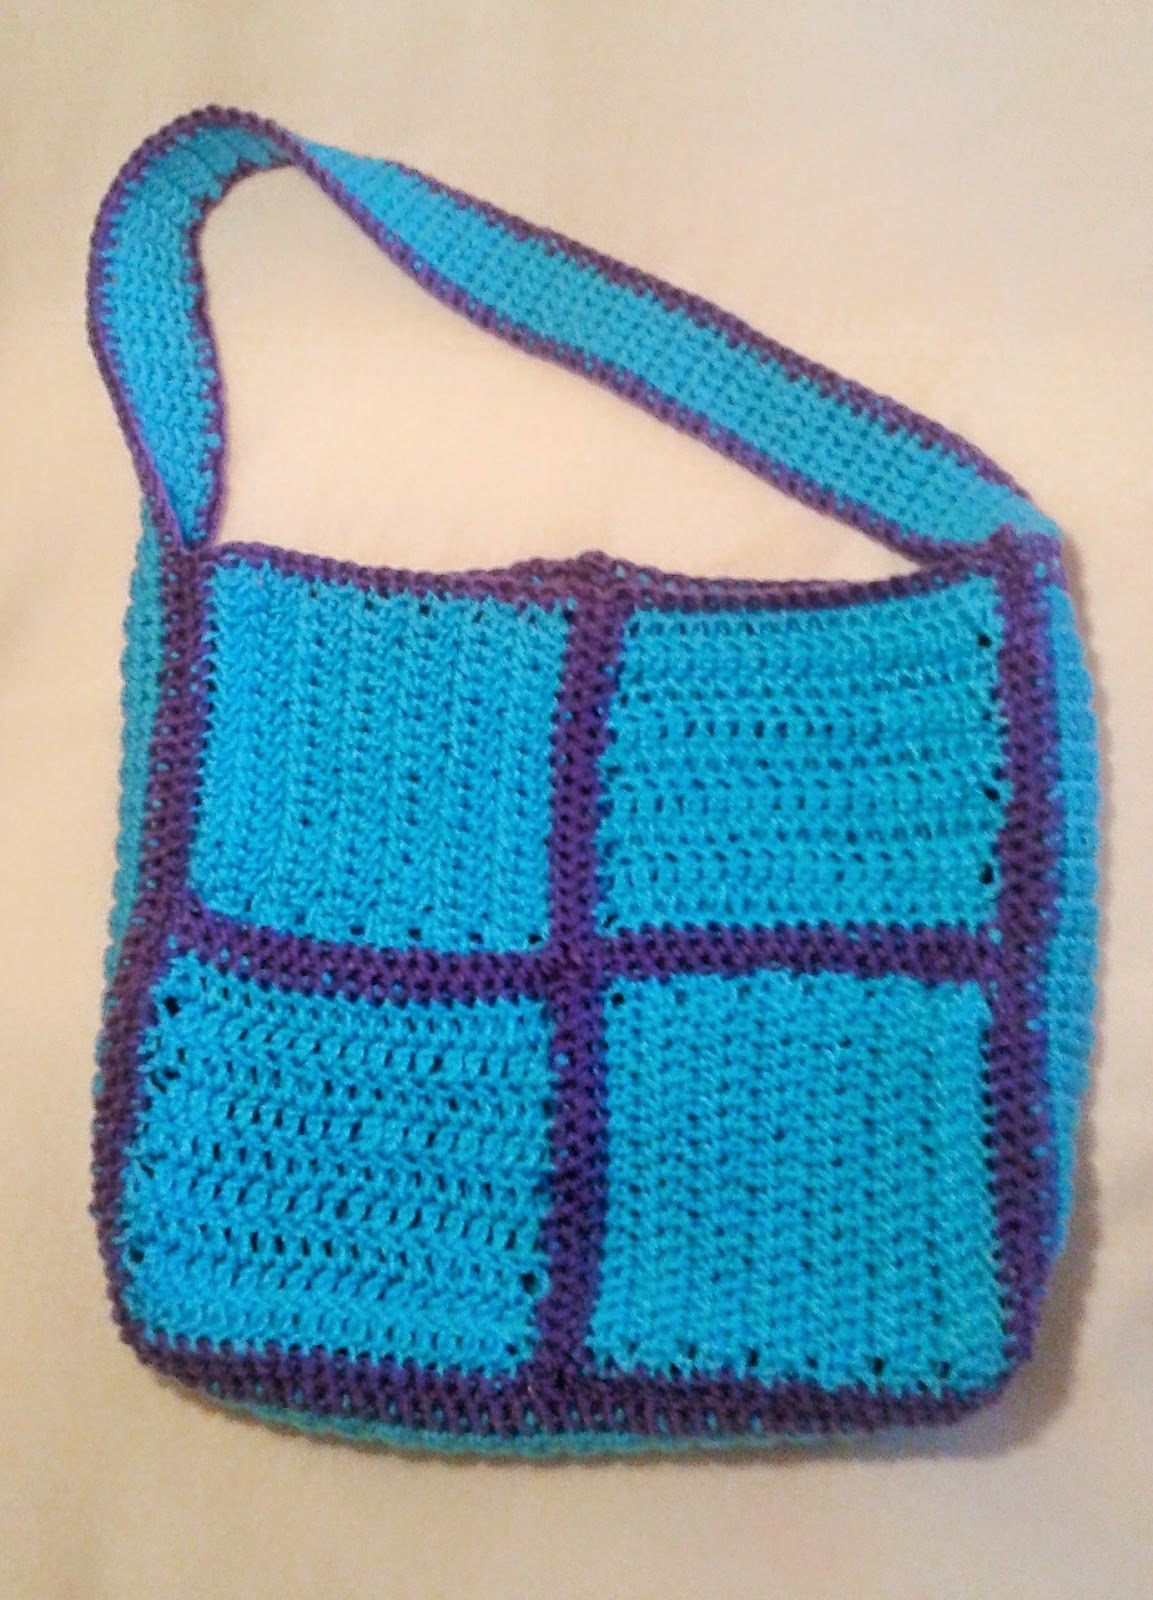
Thank you for joining me in this series. I hope you enjoyed it, and I hope you came out of it with a good foundation of crochet knowledge.
I would love to see the bag you created. Please visit me on my Facebook page and share a photo.
