
Crochet Granny Stripes are a fun variation of the crochet traditional granny square stitch. Instead of working the granny stitch in a square, the Granny Stripes Crochet Stitch are worked in rows.
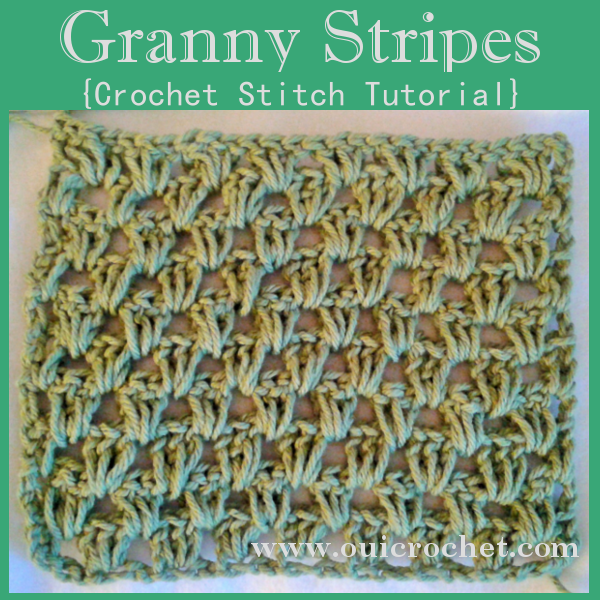
Granny stripes can be used in a variety of projects. You can get creative with the colors you use, for beautiful effects. You can see an example of how I used various rows of different colors in my Granny Stripes Color Burst Blanket. To see how the granny stripes look when you simply alternate each row between two colors, take a look at my Granny Stripes Scarf.
Granny Stripes are worked in a multiple of 3 +1. For this tutorial, I am usinf a size I crochet hook, and I am starting with 28 chains. 9×3=27+1=28.
Here are the written instructions. I will break them down with photos after.
Crochet Granny Stripes Photo Tutorial
Ch 28
Row 1: Dc in the 4th ch from hook. *skip 2 ch, 3 dc in the next ch* repeat across, working only 2 dc in the last ch in the row. Turn.
Row 2: Ch 3, 3 dc in the first space between the clusters of the previous row, continue to work 3 dc in each space across. Work 1 dc in the top ch of the ch3 turning ch.
Row 3: Slip stitch in the space between the last 2 stitches. Ch 3, 3 dc in same space, *dc in the next space between clusters of previous row* repeat across, working 2 dc in the final space. Turn.
Remaining Rows:: Repeat rows 2 and 3.
Finish off and weave in ends.
Let’s break it down step-by-step:
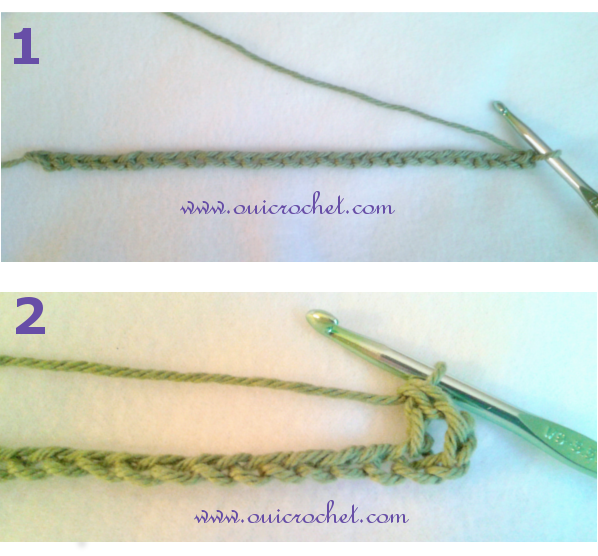
1. Ch 28
2. Dc in the 4th ch from hook
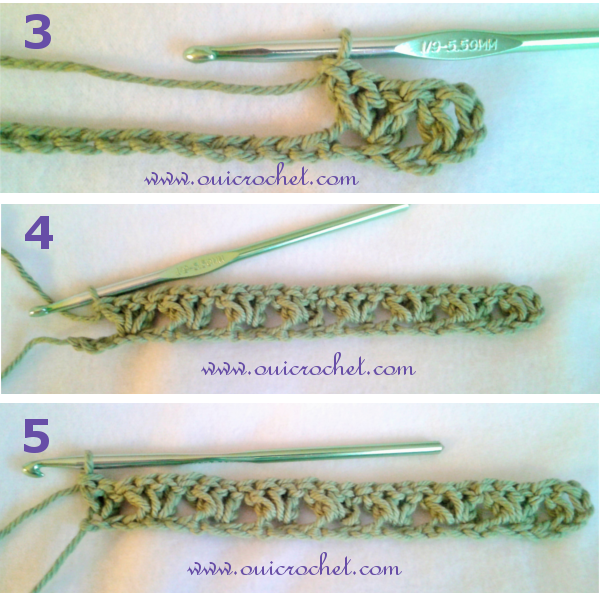
3. *skip 2 ch, 3 dc in the next ch*
4. repeat across,
5. working only 2 dc in the last ch in the row.
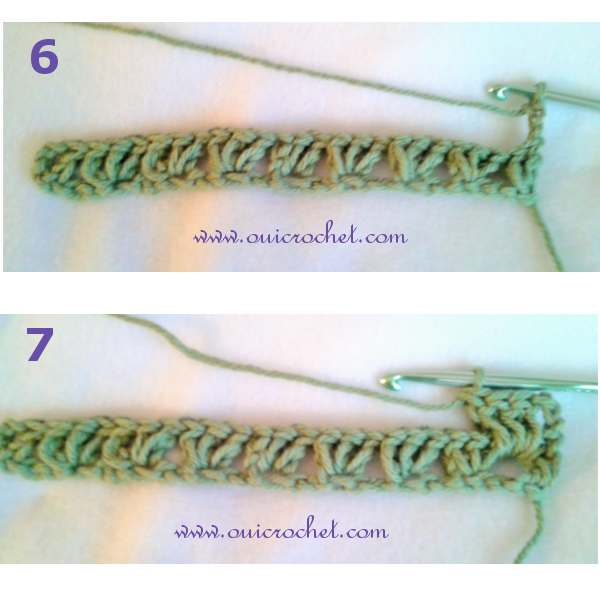
6. Turn. Row 2: Ch 3,
7. 3 dc in the first space between the clusters of the previous row,
8. continue to work 3 dc in each space across.
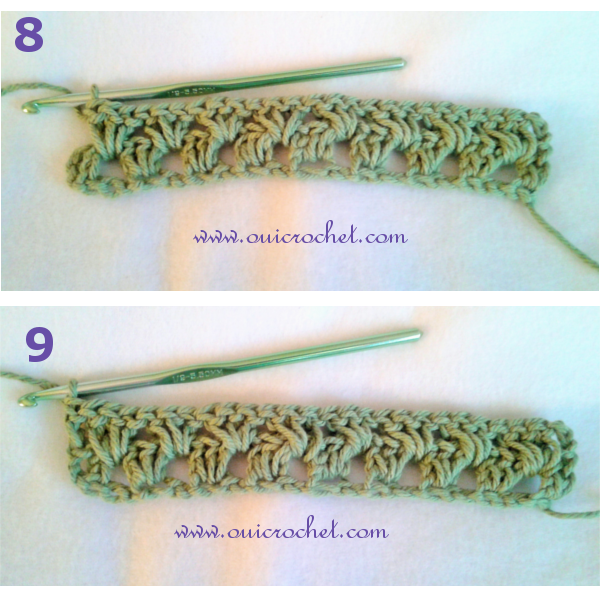
9. Work 1 dc in the top ch of the ch3 turning ch.
10. Row 3: Slip stitch in the space between the last 2 stitches.
11. Ch 3,
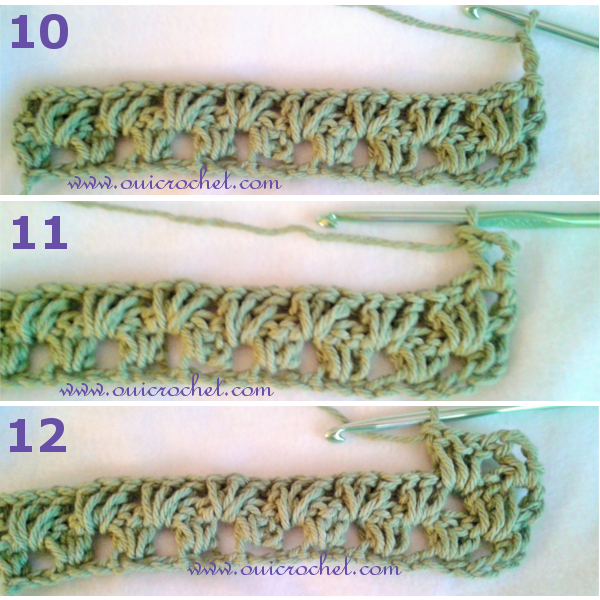
12. dc in same space,
13. *3 dc in the next space between clusters of previous row* repeat across,
14. working 2 dc in the final space. Turn.
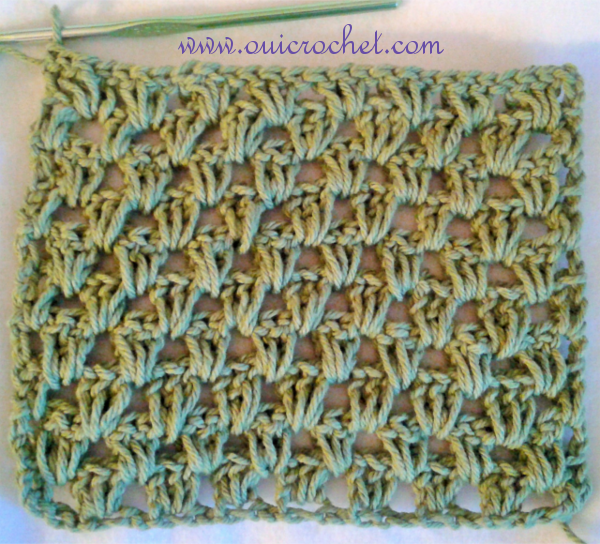
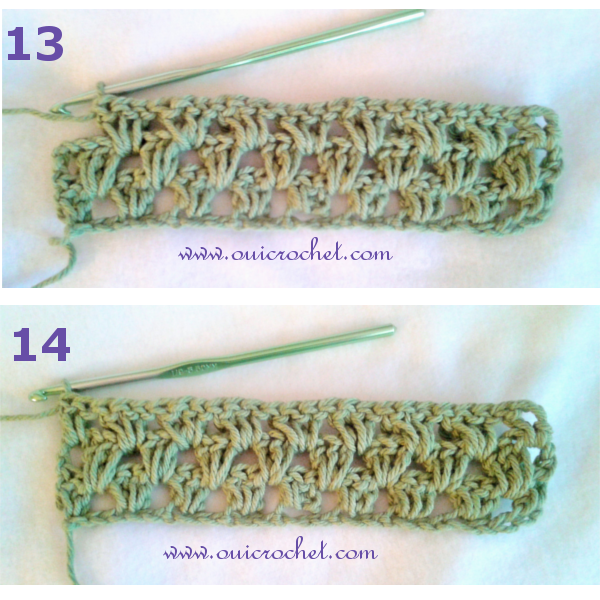
15. Remaining Rows: Repeat rows 2 and 3.
Finish off and weave in ends.
In what types of projects do you like to use Granny Stripes?
Note: All patterns are written in American terms.