Reverse Single Crochet is a simple, yet attractive edging. It is commonly used as an edging for hats. I like to use it to edge various projects that need a little something, but not too much to take away form the rest of the project. I will be sharing both a hat and a poncho pattern in the coming weeks that will sport the reverse single crochet. I thought I would take this opportunity to share a tutorial on how to do it, before those posts go live.
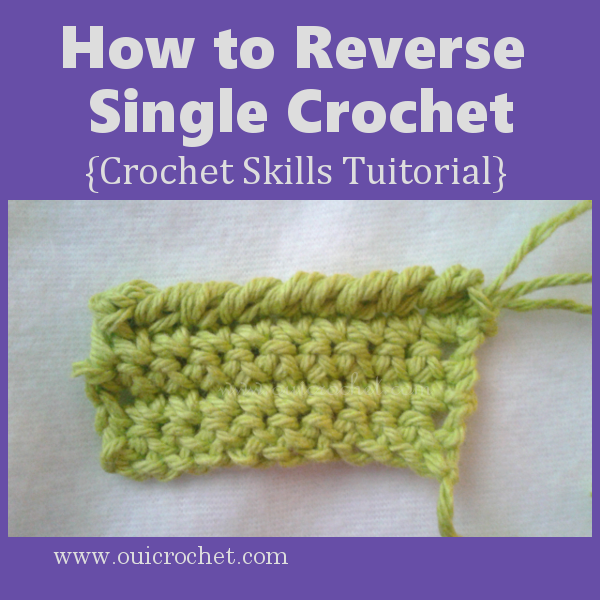
The Reverse Single Crochet (rev sc) is exactly what it sounds like. It is a single crochet stitch that will be worked in the reverse direction, from left to right. It’s really easy! Let’s get started.
How to Reverse Single Crochet
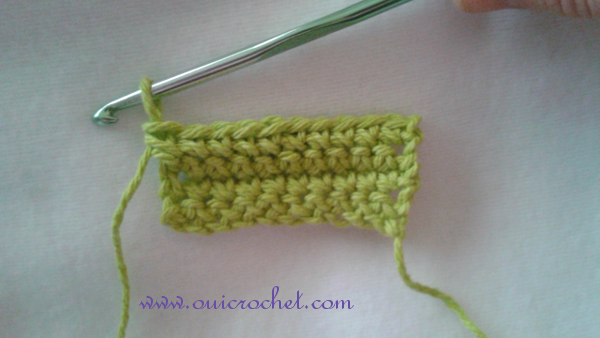
1. For this tutorial, we will start with a simple swatch of single crochet rows. When you get to the row where you want to start the rev sc, stop at the end of the row, without turning.
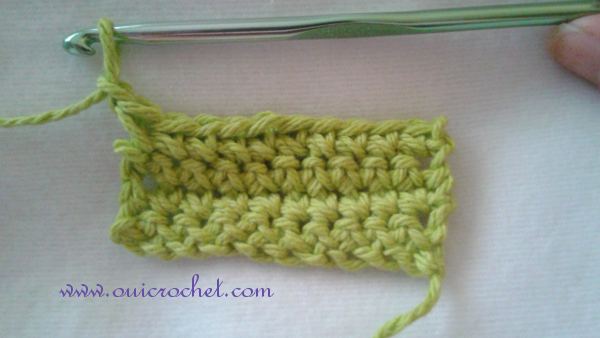
2. Ch 1, as you would when beginning a single crochet row.
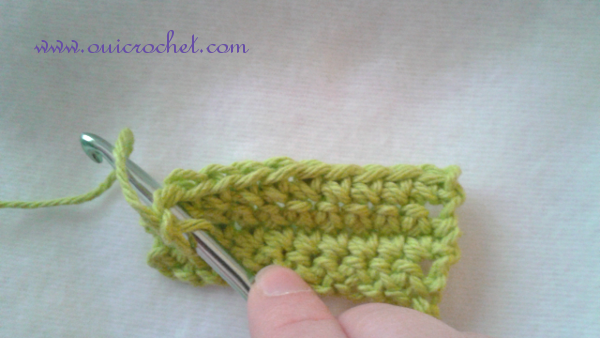
3. Insert your hook into the last stitch that you made, yarn over, and pull through.
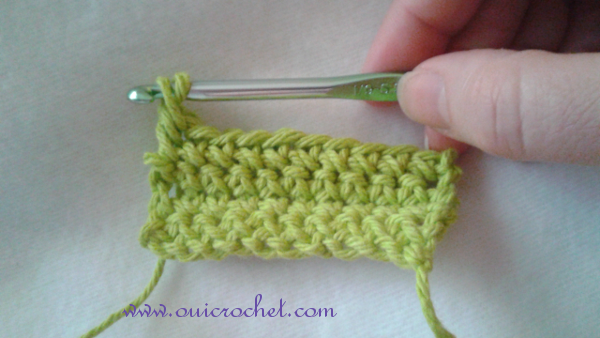
4. You now have 2 loops on your hook, just as you would a regular single crochet.
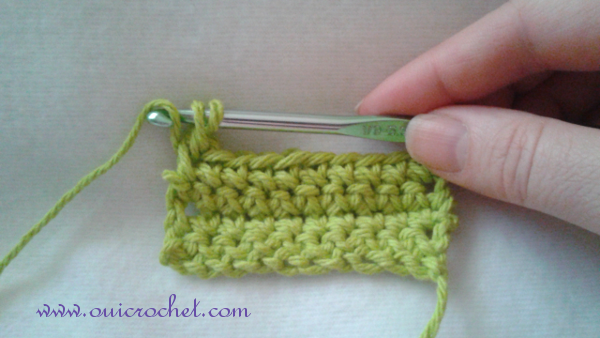
5. Yarn over, and pull through both loops to complete the single crochet.
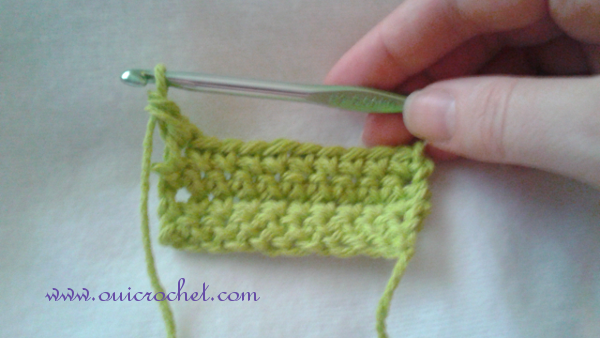
6. There you have it. Your first reverse single crochet stitch.
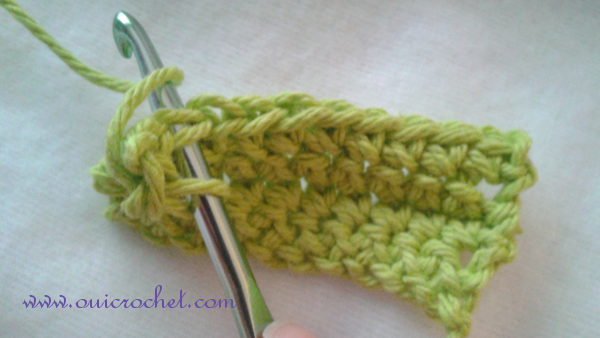
7. Continue as above, working the next stitch to the right. Keep working stitches until you get to the last stitch.
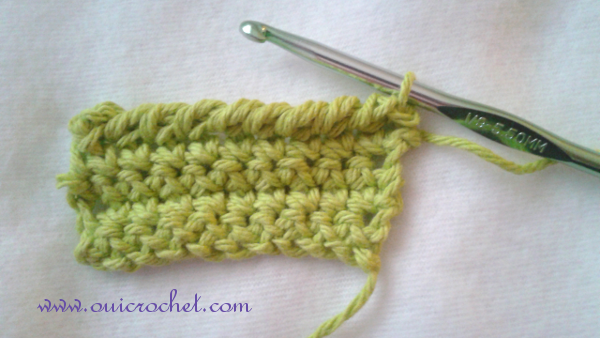
8. Slip stitch into the final single crochet.
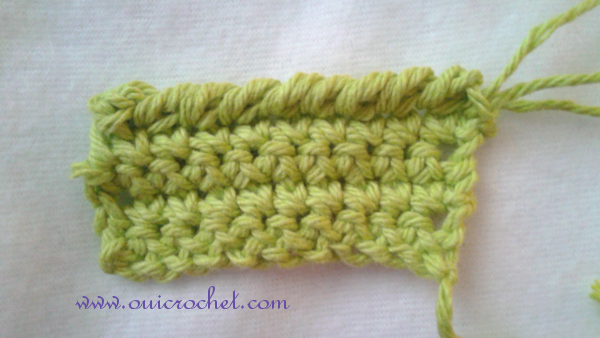
9. And there you have it. See, I told you it is easy!
What will you use the reverse single crochet for?
Note: All patterns are written in American terms.
