
The Iris stitch is a very pretty stitch with a nice drape. It is perfect for a crochet shawl, poncho, blanket or throw pattern. The stitch looks nice as a solid, and it has a stunning effect when worked in stripes. You can see an example of the Iris Stitch in stripes in my crochet Festive Iris Stitch Striped Throw.
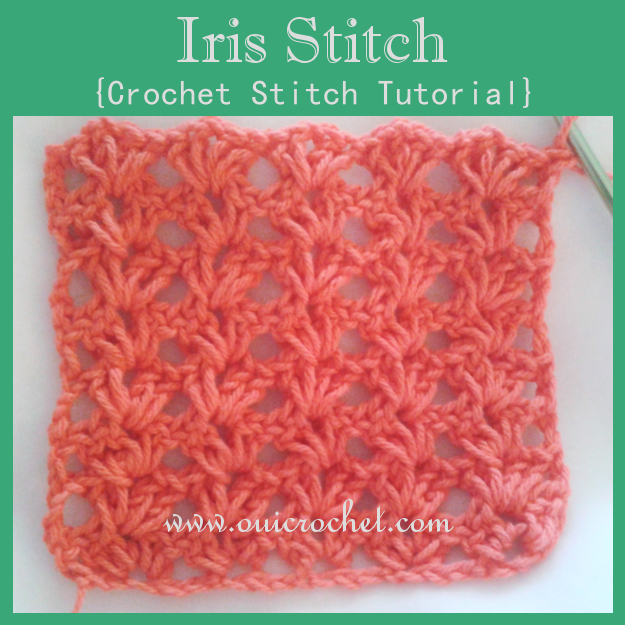
The Iris Stitch can be described as a hybrid between a shell and a v-stitch. It is simple to do and works up fast.
To get started, you will need to make a foundation chain with multiples of 4 stitches+1, plus 2 for the foundation chain.
For this tutorial, I started with 23 chains. (4 x 5 = 20 + 1= 21 + 2 = 23)
(As always, if you need help with abbreviations, you can check out my post on Common Crochet Abbreviations. There is even a free printable.)
Crochet Iris Stitch Tutorial
Work in multiples of 4 stitches +1, plus 2 for foundation chain.
For this tutorial, we will Ch 23
Row 1: [2 dc, ch 1, 2 dc] in 5th chain from hook, *skip 3 ch, [2dc, ch 1, 2 dc] in the next ch, repeat from * to last 2 ch, skip 1 ch, 1 dc in last ch, turn.
Row 2: Ch 3, skip first 3 dc, *[2 dc, ch1, 2dc] in ch 1 space, skip next 4 dc, repeat from * to the last 2 dc, skip last 2 dc, 1 dc in turning ch, turn.
Repeat row 2 for pattern.
Now, let’s break it down, step by step.
Ch 23

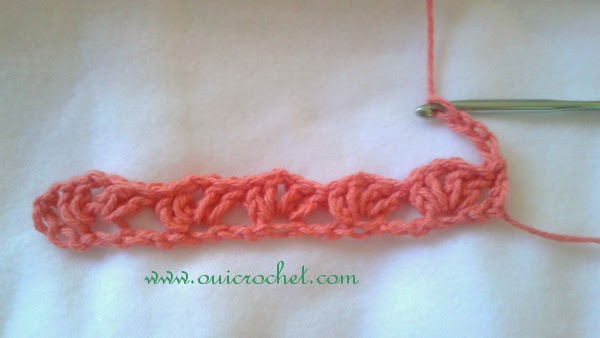
[2 dc, ch 1, 2 dc] in 5th chain from hook,
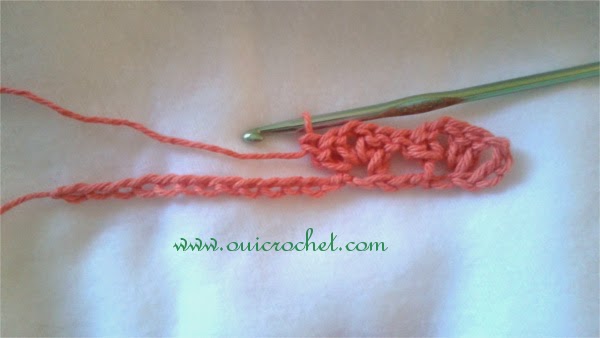
*skip 3 ch, [2dc, ch 1, 2 dc] in the next ch,
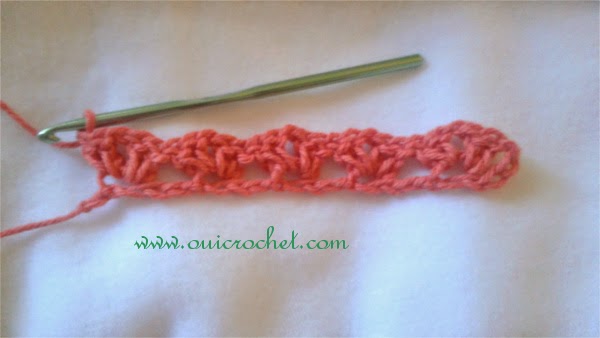
repeat from * to last 2 ch,
skip 1 ch, 1 dc in last ch,
turn. Ch 3,
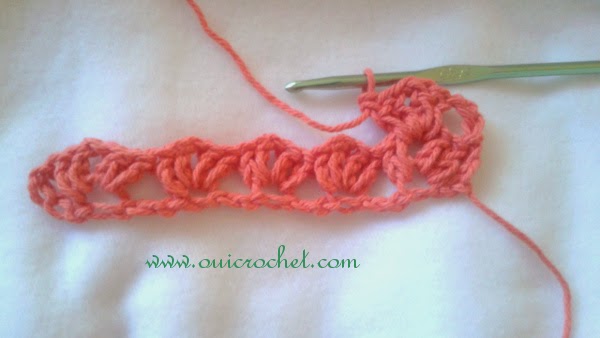
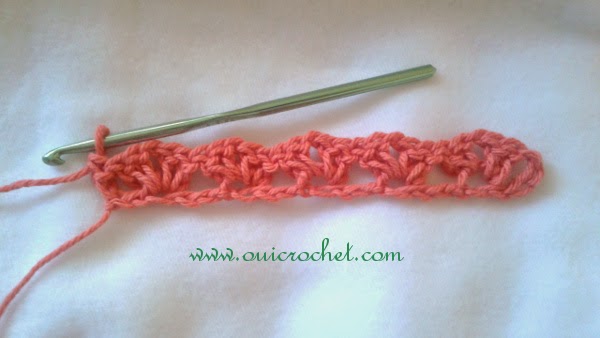
skip first 3 dc, *[2 dc, ch1, 2dc] in ch 1 space,
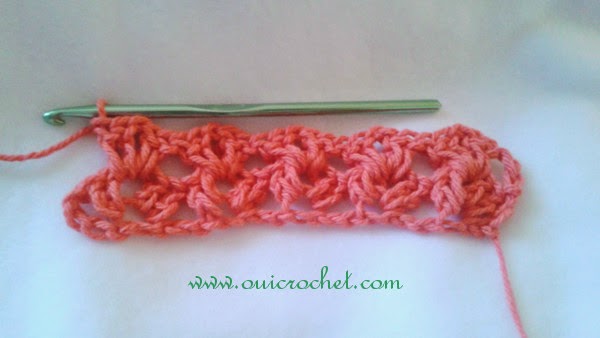
skip next 4 dc, repeat from * to the last 2 dc,
skip last 2 dc, 1 dc in turning ch, turn.

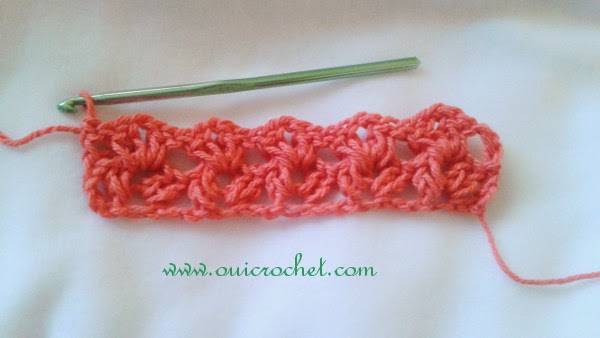
Repeat row 2 for pattern.
That’s it. Easy, right?
What will you use the Iris Stitch for? Leave a comment here, and share your works on my Facebook page!
If you like this crochet stitch tutorial, check out my Resources Gallery for more crochet stitch tutorials. I will be adding more tutorials, periodically.